Teaser on the Reformer Long Box
Dec 25, 2020
Here's a question that I recently received from a Pilates Encyclopedia member:
Teaser on the long box with straps: how short should the straps be? I tried it several times with quite fit clients who are able to do a Teaser with the push through bar and on the mat, but I always struggle teaching it on the long box. I wonder if students who are shorter than me should use shorter straps.
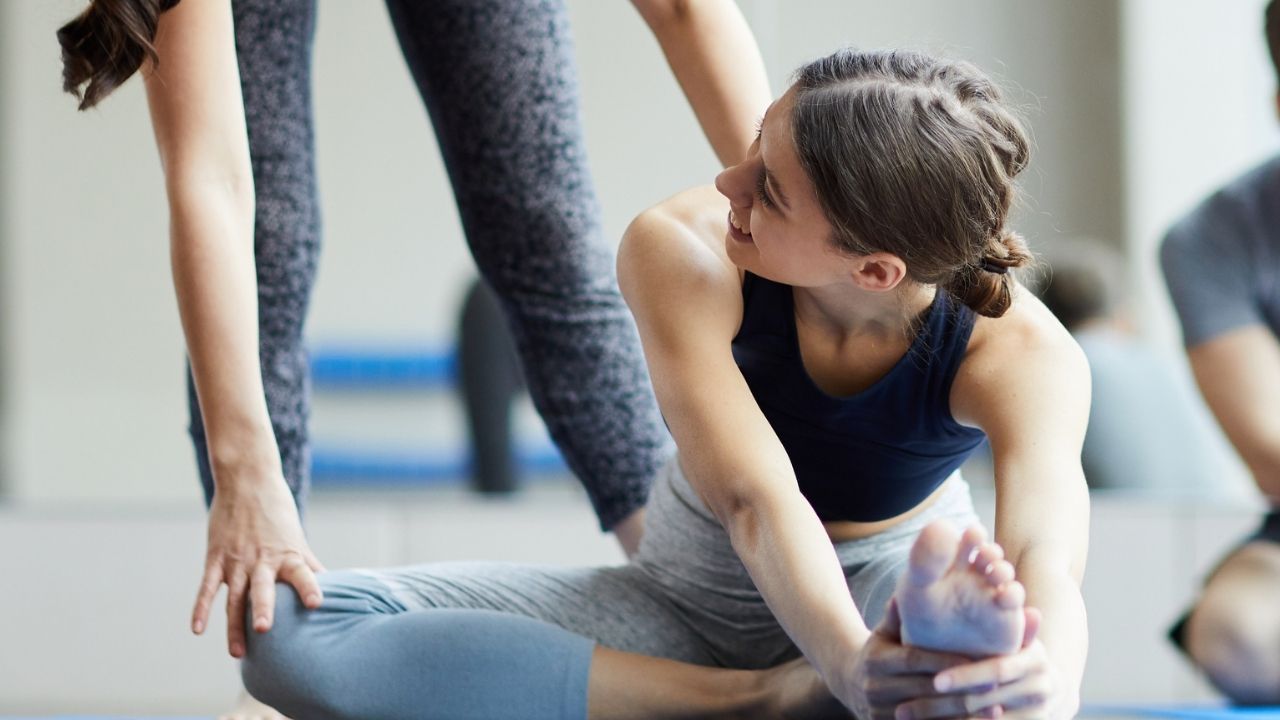
Teaser on the Reformer is one of, if not, the most difficult Teasers in the Pilates repertoire.
Let's take a look at it before diving into some thoughts of why your students might be struggling with it.
All right. To answer your questions properly, let me back up just a bit.
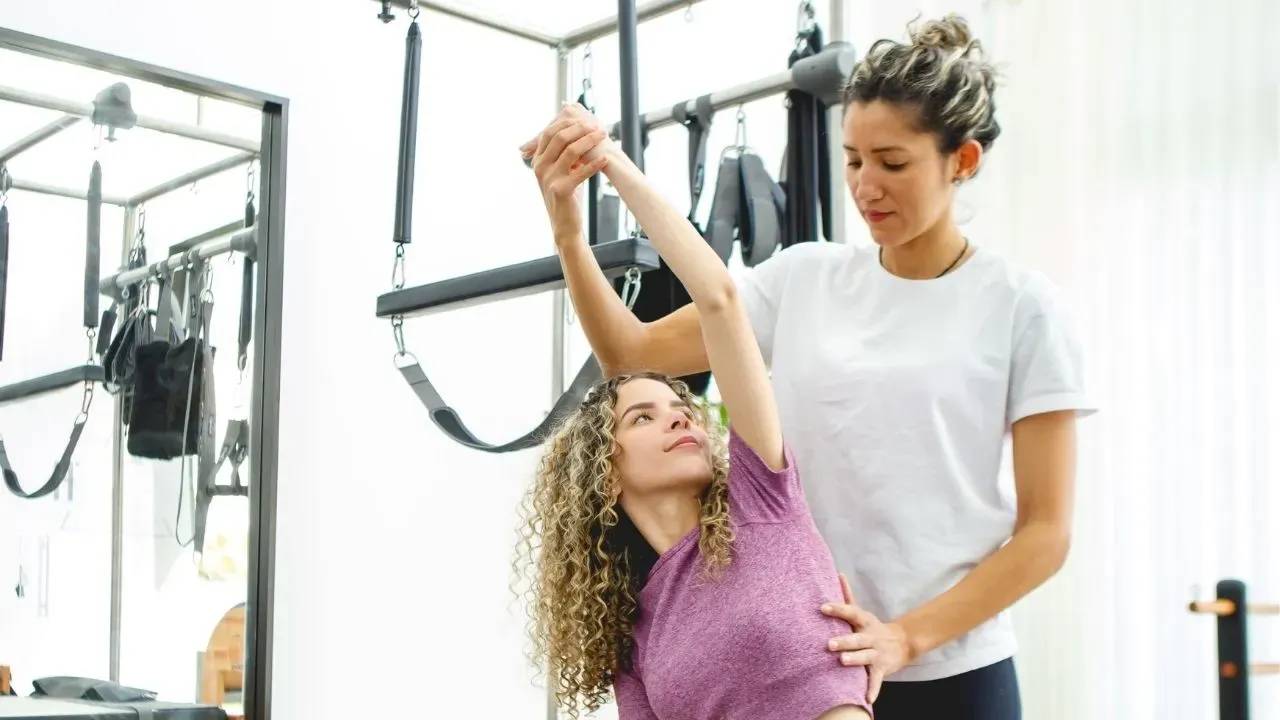
Consider The Angle Of Your Arms And Shoulders
On The Cadillac, the Tower bar helps to pull you up, which makes it the easiest Teaser variation and the one I traditionally start new students with.
On the Trapeze Table, your shoulders begin in 90-degree flexion and move to up to 180-degrees of shoulder flexion. Your arms are in front of the body the whole time, beginning to end of the movement.
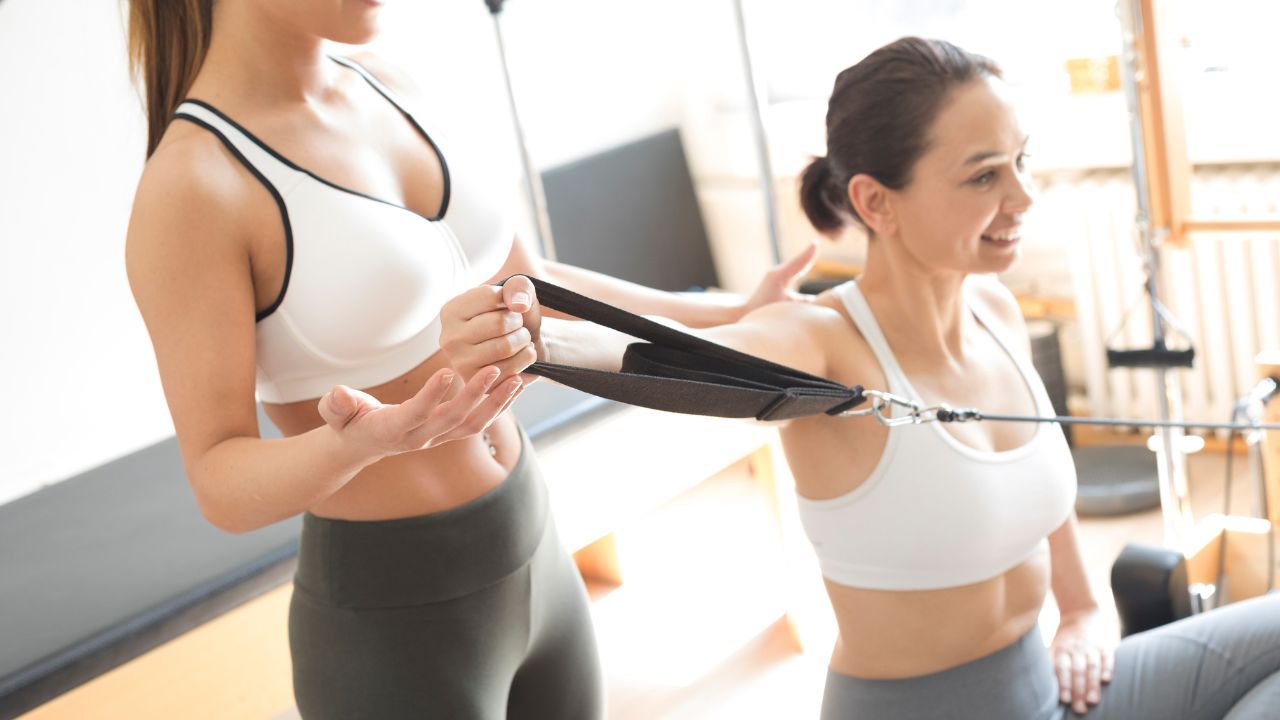
On the Reformer, your arms move from an abducted and extended position to 90-degrees of flexion. It's much more difficult to begin with your arms behind your body and away from the centerline.
In addition, you have to deal with the resistance from the straps. When your arms, shoulders, and upper core work together, that's called upper extremity (core) integration.
As you pull your arms towards the body and forward, you engage your pectorals. As you continue to reach your arms forward, your scapulae protract, which activates your serratus anterior. The serratus anterior wraps around the side of your ribcage and connects with your internal oblique on the same side which connects to your external oblique on the other side, creating an "X" around the front body. This is called the anterior oblique sling.
Sitting On a Moving Surface Requires Different Timing
Then, there is the additional challenge of sitting on a moving surface (the carriage). This unstable surface is a very unfamiliar environment for the brain and body. It requires the timing of your arm and spine movement to change. The brain has a hard time anticipating how much strength to use when. No wonder the Teaser on the Reformer is so challenging.
If your student is successful with the Teaser on the Cadillac, and the Teaser on the mat, and you want to progress them, here's what I suggest.
Begin In a Seated Position
When teaching Teaser to someone for the first time, I recommend to always begin in the seated position instead of in the supine position. It's much easier to control the downward movement (gravity will do it for you in a pinch) than the roll-up against gravity.
Begin by sitting on the box holding the straps. Reach your arms forward and roll off your sit bones into a C-curve position. One by one, lift your legs into tabletop and take a moment to feel the instability of the carriage. From there, ask your student to roll back one or two inches, and then roll right back up.
This is very similar to the Roll Down Series on the Reformer, which is a very good regression or a preparation for the Teaser on the long box. The Roll Down series teaches how to push the carriage with the tailbone. It gets people used to the feeling of rolling on a moving surface.
The difference between Roll Down and Teaser is the direction of the pull of the springs. Since you're facing the opposite end of the Reformer, the springs pull in the opposite direction. In Roll Down your arms could (but shouldn't) help you (assisting). In Teaser they are an additional challenge (resisting).
Your hip flexors have to work isometrically to hold your legs up. As your pelvis rolls back into a posterior tilt, those same hip flexors now have to lengthen while they are working. One end of the muscle has to pull away from the other end while working eccentrically. That's hard! The Teaser on the Mat has the same challenge.
After your student has repeated this preparatory exercise a few times, see if they can start rolling down an inch further each time while maintaining control. You'll probably see that they will start to wobble or lose control at one point. You'll be able to notice if they hit a flat spot in their spine. When they go over that flat spot and fall down onto it, they're not going to be able to come up over that (without momentum). Rolling down sloppily works with gravity, but going against gravity on the way up is a lot harder.
Length of the Straps and Spring Resistance Work Together
Finally, to answer your question regarding the straps: as long as your straps are not extremely long or extremely short, the length shouldn't matter too much. Keep them the same length you always use. If you start in a seated C-curve as mentioned before, then you'll feel whether the length of the straps works. Remember, that the length of the straps and spring resistance work together here. The shorter the springs the heavier the springs will feel.
As for your spring resistance, I would recommend either one or two springs. Experiment with spring tension, it often requires a bit of trial and error to find the sweet spot. If the springs are too light, then you don't get enough feedback and activation of the anterior oblique sling. If they are too heavy, then your anterior oblique sling might be too weak to be able to overcome that resistance.
We have dozens of answers to questions like this one inside Q&A chapter of the Pilates Encyclopedia member library.
Learn more about the membership here...
Do you have a burning Pilates question? Submit your question here.