4 Ideas For Split Pedal Exercises on the Pilates Chair
Jun 30, 2021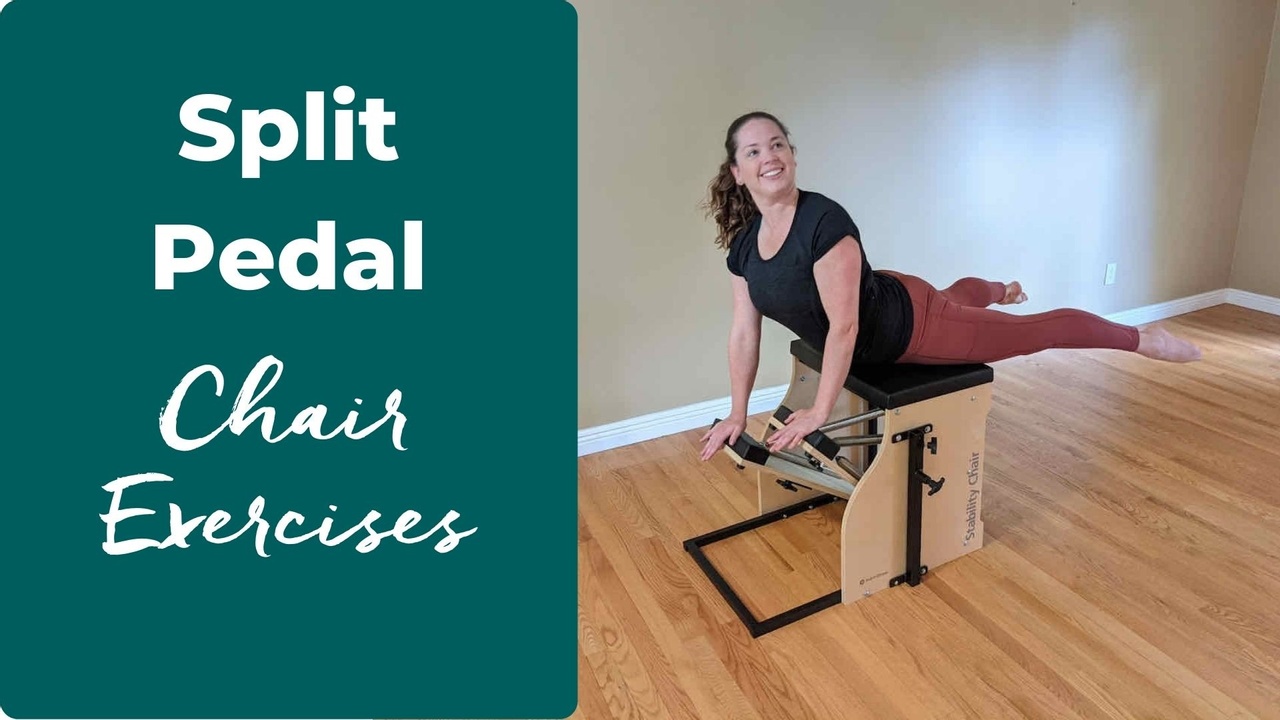
Want to level up your Chair exercises? Using the split pedal can create a whole new experience with exercises that you already know and love.
Essentially, any exercise that places two hands or two feet on the pedal can be done with a split pedal!
Looking For The Perfect Chair?
Find Out What To Look For When Buying a Pilates Chair
First, let’s talk about the set-up. When choosing springs, you’ll want to make sure that each pedal has the same tension attached. Which springs you choose will depend on the exercise. I’ve got a few examples to show you, to help get you started.
I recommend you load all of your springs first before you split the pedal. I’ve seen a few people momentarily forget about gravity, and as they separated the pedals one of them came crashing down to the floor.
Some chairs connect their pedals with a dowel rod. For those models, simply pull the rod out once your springs are in place. I’ll be showing some exercises using the STOTT Merrithew Split-Pedal Stability Chair. For this chair, turn the knobs under the pedals to the left to loosen them. Then, unhook the metal piece until it hangs vertically. Retighten the knobs to secure them in the unlocked position.
Related:
Review of The STOTT Merrithew Split Pedal Stability Chair


There are 4 main ways we can make use of the split pedal:
1. Moving both pedals side-by-side, at the same time
2. Moving each pedal one at a time
3. Moving the pedals reciprocally
4. Pre-positioning the pedals in a slightly offset position
Let's look at each of these options more closely (examples included):
1. Moving both pedals side-by-side, at the same time. Even though the pedals are not connected, we try to execute the movement as if they were. This can be great for pointing out muscle imbalances between our right and left sides, and then allowing us to work towards correcting them.
Lying Flat: Frogs
(Watch a video)
- Set-Up: Light spring tension. I used 2 light top.
- Starting Position: Lying supine with a neutral pelvis and spine. Outer edges of feet on each pedal with knees bent and hips externally rotated.
- Action: Exhale while you open the knees wider apart to press the pedals down. Inhale to control the pedals as they travel up to where they started.
- Tips: Move slowly to ensure pelvic stability and that both pedals travel together at the same time.

2. Moving each pedal, one at a time. We stabilize one pedal while moving the other. With this type of work, we would be moving one limb (unilateral movement). The spine will be tempted to rotate as the pedal moves. There are two things you can do with this. You can choose to use it to facilitate spine rotation for your client. Or, you can have them work to stabilize the trunk to avoid that rotation. In this scenario, the opposite side (contralateral) stabilizers must engage. This can be especially beneficial work for people with scoliosis.
Prone Scapular Series: Arm Press - Facilitate Rotation
- Set-Up: Light to medium spring tension. 2 heavy low.
- Starting Position: Prone on chair. ASIS 1-2 inches from the edge of the seat and one hand on each pedal. Pedals are just barely hovering off of the frame. They start lower to allow for more rotational movement.
- Action: Inhale to bend one elbow and rotate the rib cage in the same direction. Maintain the height of the other pedal. Exhale to press back down until the pedals are level and spine rotation is eliminated.

Prone Scapular Series: Arm Press - Neutral Spine Stabilization
- Set-Up: Light to medium spring tension. 2 heavy low.
- Starting Position: Prone on chair. ASIS 1-2 inches from the edge of the seat and one hand on each pedal. Pedal height in start position is determined by first positioning the spine in neutral.
- Action: Inhale to bend one elbow. Exhale to press down and match the height of the two pedals.
- Tips: Engage the obliques, lower traps, lats, and spinal extensors on the opposite side in order to keep the spine neutral. Shoulder stabilization will be another key factor during this movement.

3. Moving the pedals reciprocally. Here, the pedals move in opposite directions at the same time. If your goal with this variation is to facilitate rotation, this can be slightly easier here vs. stabilizing one pedal while you move the other. If you choose to stabilize the spine and torso, moving pedals reciprocally will be a progression in difficulty.
Washer Woman III - Pelvic and Spinal Rotation
- Set-Up: Medium to heavy spring tension, proportional to the client's body weight. 2 heavy in the middle to 2 heavy at the top.
- Starting Position: Hands at the back of the chair seat and one foot on each pedal. Shift the bodyweight forward into the hands and push to lift the pelvis and put the body in a pike position. You could choose to use either a neutral or flexed spine.
- Movement Pattern: Keeping the knees straight, push one pedal down slightly as you lift the other up at the same time. Switch anywhere between 4-12x before coming down to rest. Inhale for 2 switches, exhale for 2 switches.
- Tips: Since the knees remain straight, the movement will come from the rotation of the pelvis and spine. The amount will depend on your client's strength and endurance. This is tough!

Washer Woman III - Pelvic and Spinal Stabilization
- Set-Up: Medium to heavy spring tension, proportional to the client's body weight. 2 heavy in the middle to 2 heavy on top.
- Starting Position: Hands at the back of the chair seat and one foot on each pedal. Shift the bodyweight forward into the hands and push to lift the pelvis and put the body in a pike position. You could choose to use either a neutral or flexed spine.
- Movement Pattern: Stabilize the pelvis and spine. Bend one knee to start (that pedal will slightly rise). As you straighten that knee, bend the other one at the same time. Switch anywhere between 4-12x before coming down to rest. Inhale for 2 switches, exhale for 2 switches.
- Tips: The amount will depend on your client's strength and endurance, and you will need quite a bit of those for this variation!

4. Pre-positioning the pedals in a slightly offset position. With this option, we start the exercise with one pedal slightly higher than the other. Then, the goal is to maintain the amount of separation between the pedals as you move. This can be used to combine a slight spine rotation with either flexion or extension of the spine. This can be beneficial for many people, however, I would not use this for clients with osteoporosis. A combination of spine movements may put too much pressure on their vertebrae.
Swan on Top
- Set-Up: Medium spring tension. 2 heavy low.
- Starting Position: Lie prone on the chair. ASIS 1-2 inches from the edge of the seat and one hand on each pedal. I usually start by lifting the pedals slightly, just enough to achieve a neutral spine. This ensures you are in the correct position on the chair. Then push one pedal slightly lower and allow the other to rise slightly higher, to get into your start position. Pause a moment to feel how much rotation you’ve set on the spine and how far of a distance you’ve set between the pedals. Now you’re ready to start the exercise.
- Movement Pattern: Inhale to extend the spine while maintaining the spinal rotation and the same distance between the two pedals. Exhale to lower back down to your start position.

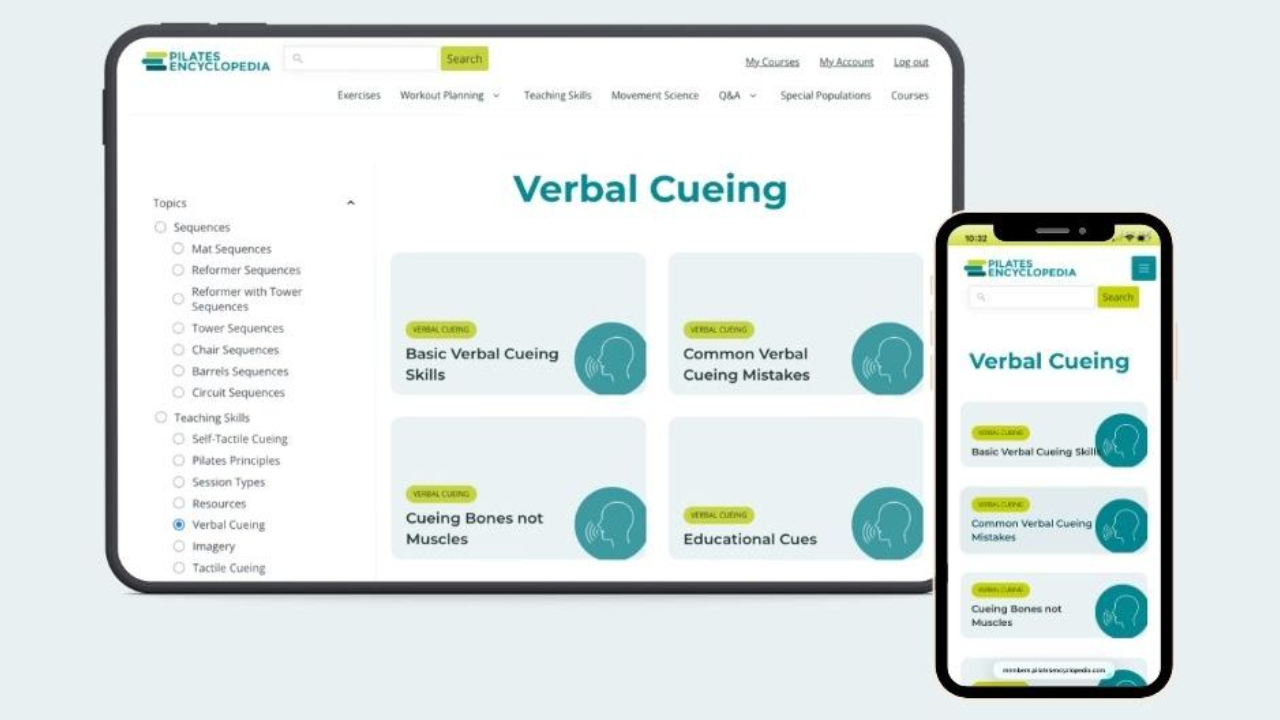
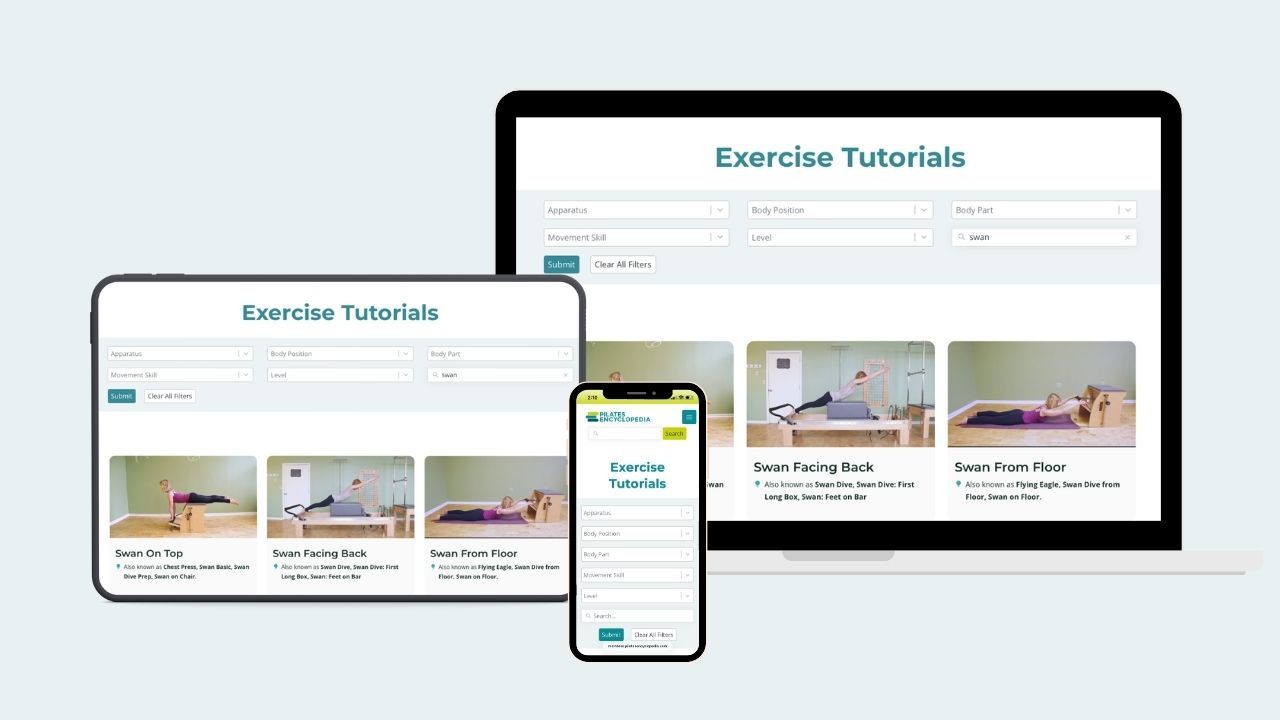
Find videos and detailed descriptions of each of these exercises (including recommended spring settings for most brands and models) inside the
Pilates Encyclopedia library!
Get instant access!
Now we want to hear from you: What's your favorite split pedal chair exercise or variation?
Contributor: Stephanie Anderson