Pilates Mat Exercises with a Belt
Jun 03, 2020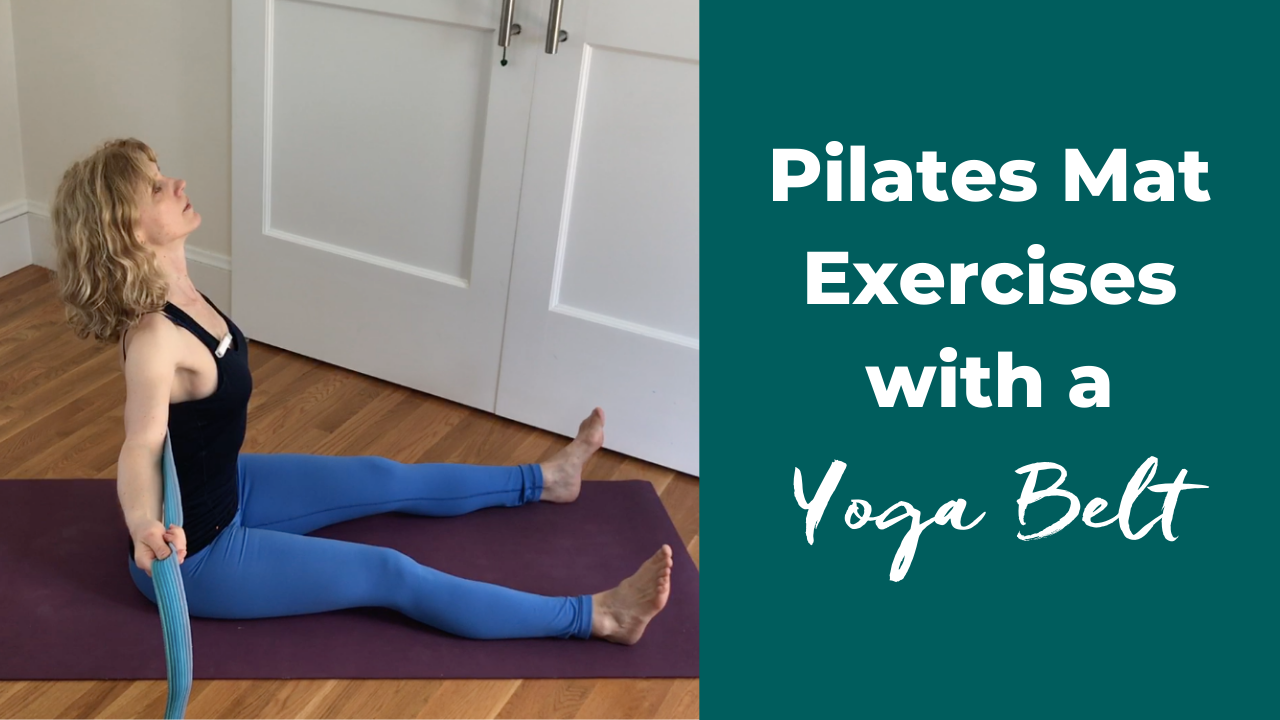
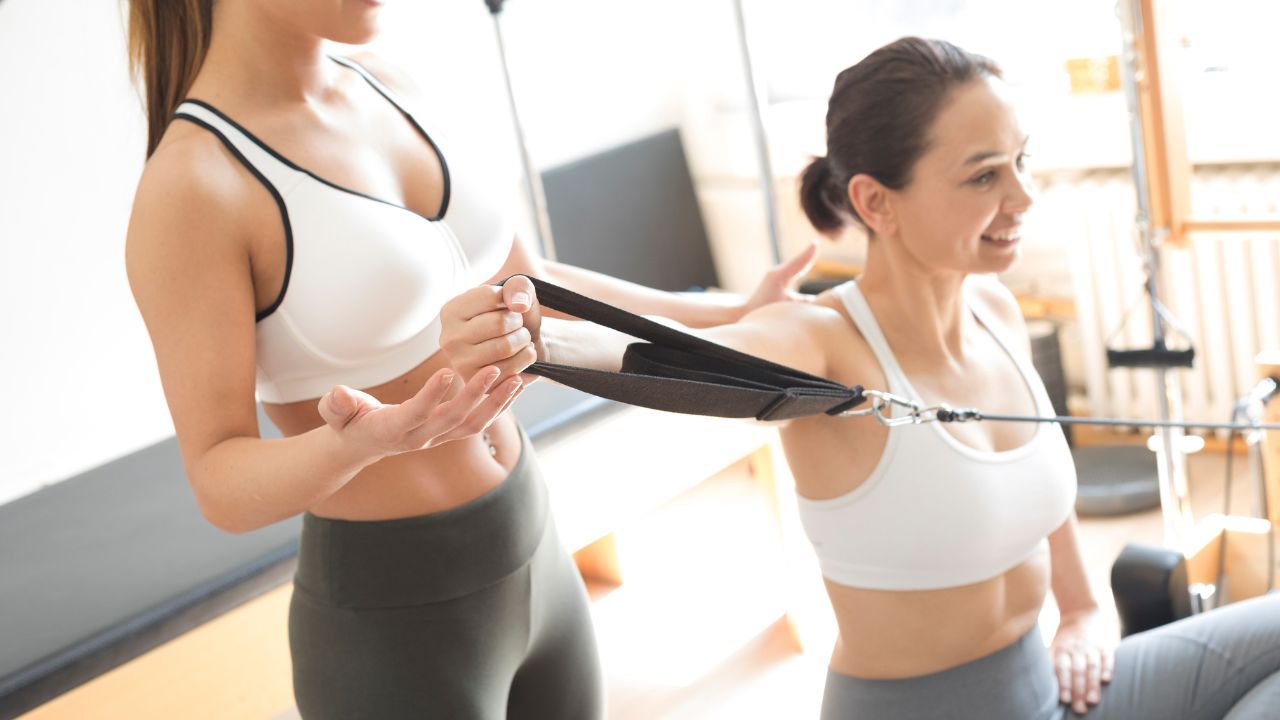
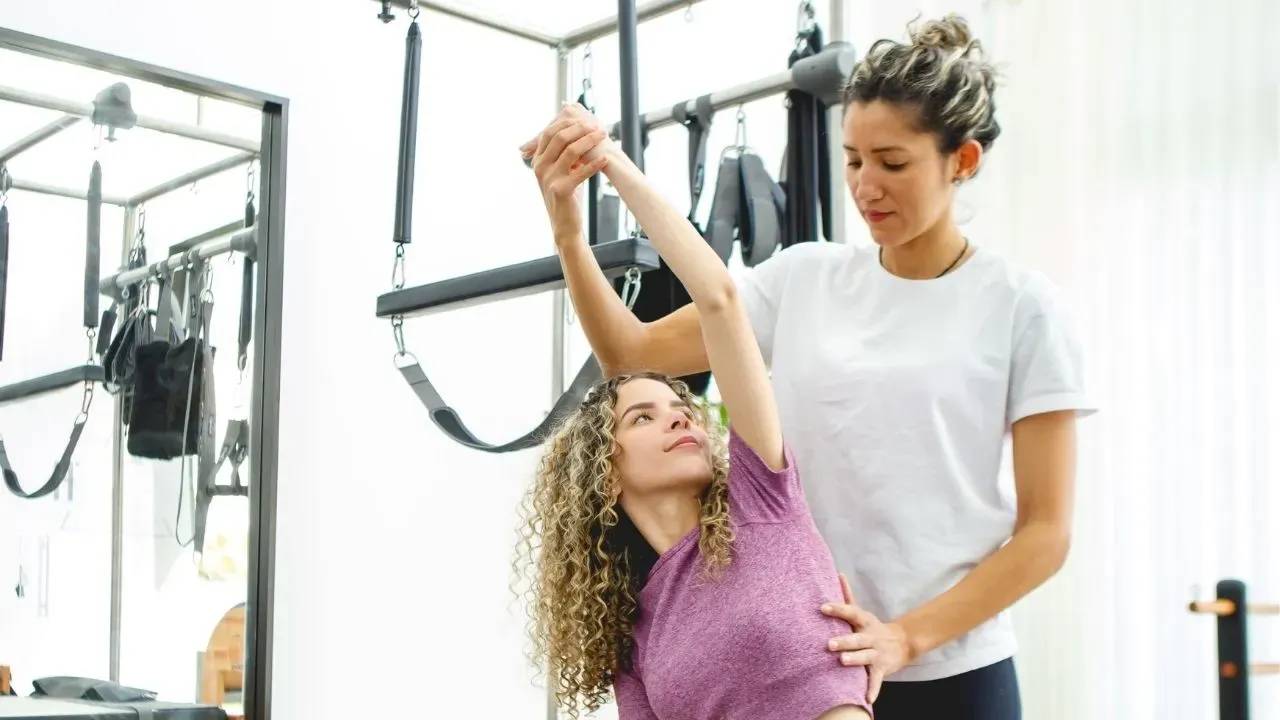
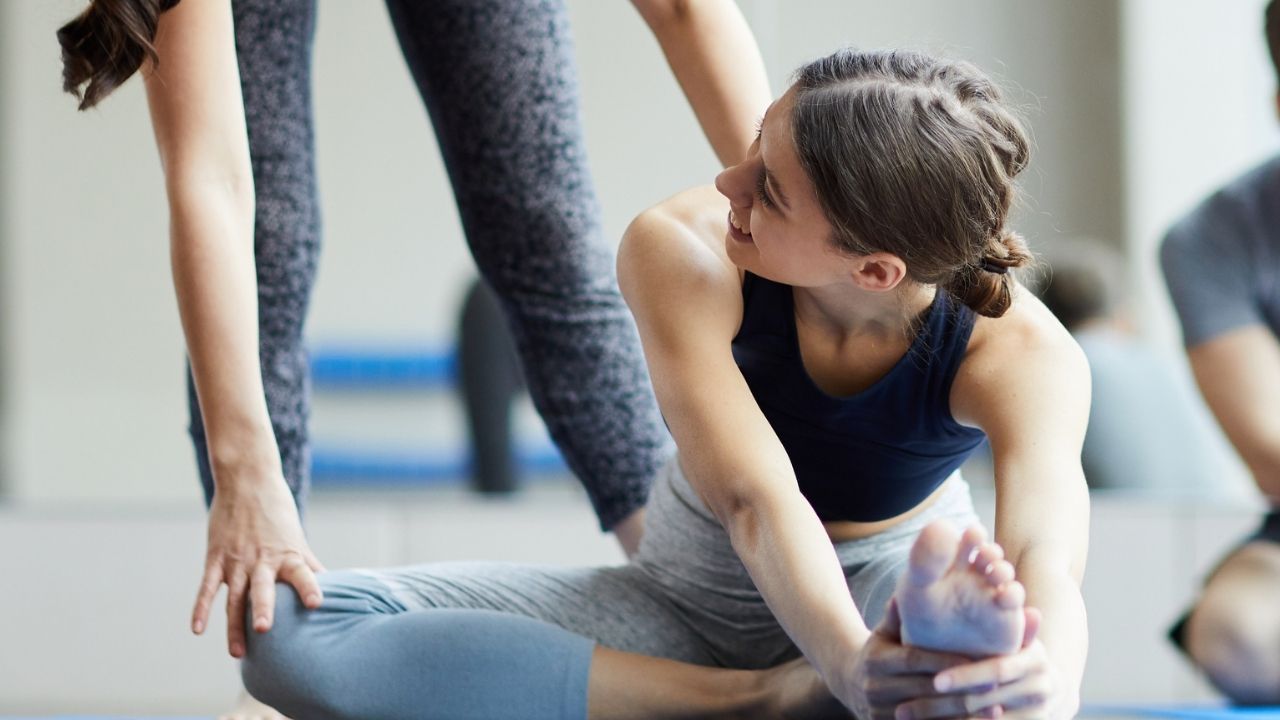
As much as we love Pilates mat work on its own, adding props can be a very beneficial way to add some variety. Depending on how you use them, they can make an exercise more challenging or they can assist you through challenging movements.
The belt can increase your abdominal activation and is a great feedback tool for student and teacher.
Benefits of Using a Belt In Your Classes
- It can serve as a feedback tool. Focus on the body part that the belt is touching (i.e. Breathing), or let it be your guide for where to pivot(i.e. seated back bend), or where to engage (Swimming).
- Use it as assistance, i.e. in One Leg Circles or Knee Stirs.
- Use it as an accountability tool by placing it under your waist in supine, prone, or side-lying. Check that you are able to move the belt in side-lying and prone, and make sure that you're not able to move it in supine.
- Use it to activate your anterior abdominal wall (Dead Bugs) or your outer shoulder stabilizers (Arm Arcs). When holding the belt in your hands, always pull apart. Never let the belt go limp.
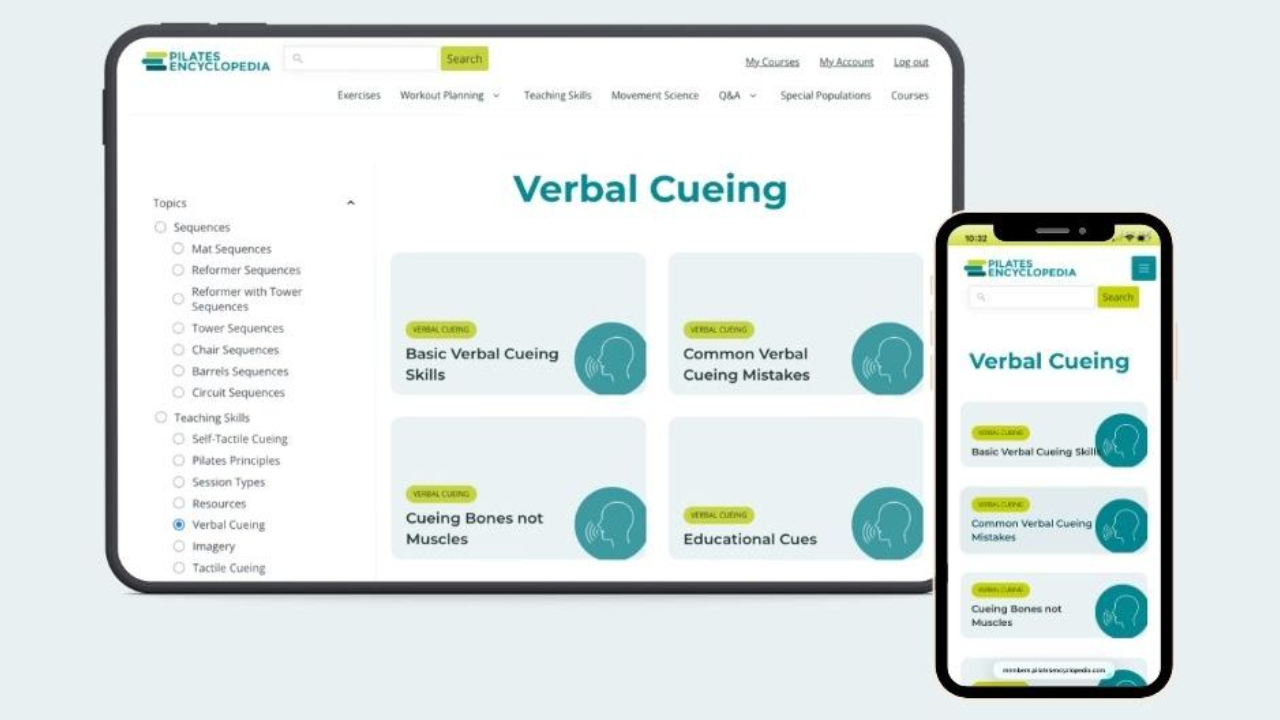
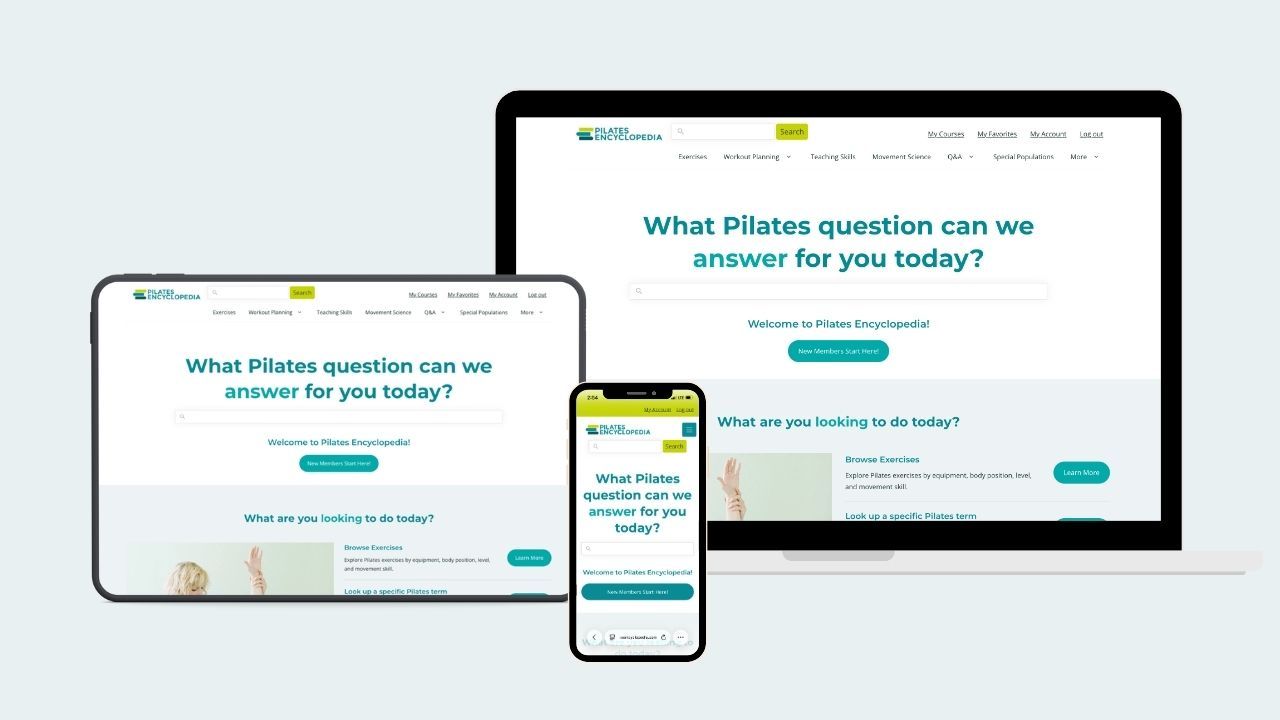
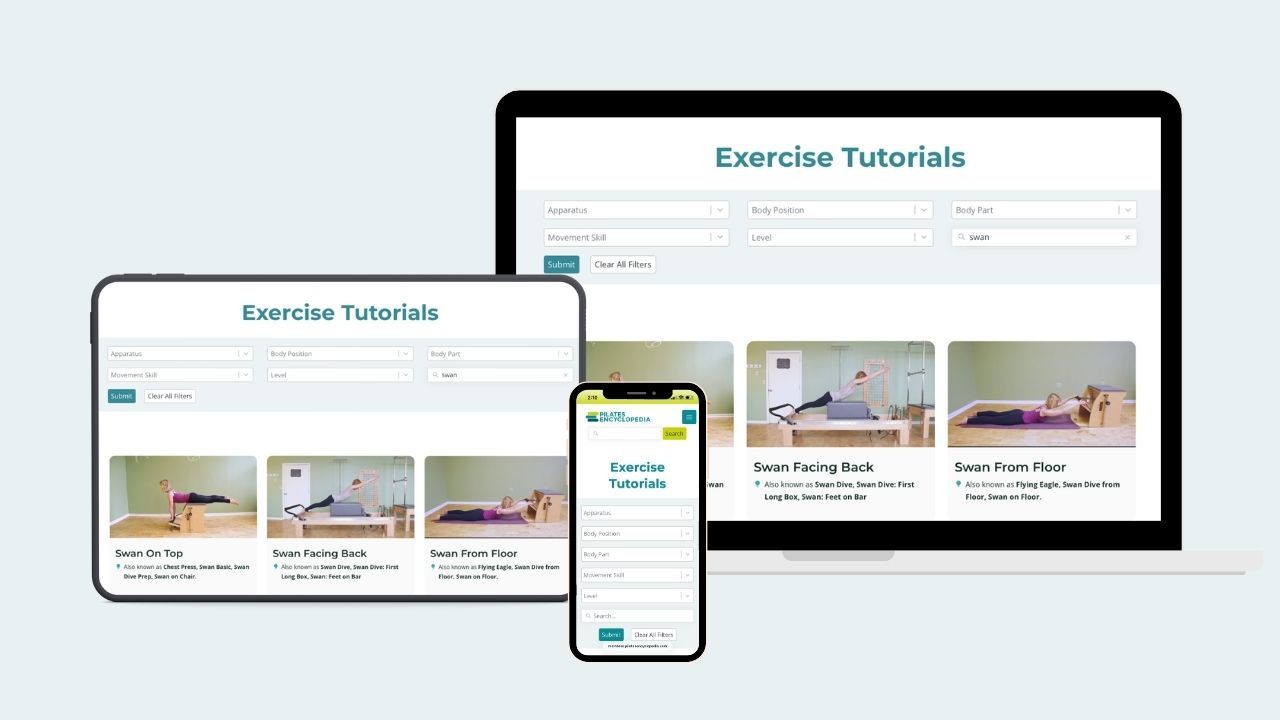
You'll find videos and detailed descriptions of each of these exercises inside the Pilates Encyclopedia membership!
Supine
- Arm Arcs: Hold belt in your hands
- Dead Bugs: Hold belt in your hands
- Bridging: hold strap with hands, arms reach to ceiling or overhead
- Hundred: strap behind thighs
- Stomach Series with Chest Lifted: Place the belt under your mid-back (imprint on the strap don’t lose strap as the instructor tries to pull it out)
- Toe Taps
- The Hundred
- 3 Way Stretch: wrap the strap around your foot, extend leg to ceiling
- Hamstring stretch
- IT Band/Twist
- Adductor
- One Leg Circles: one foot in strap, leg extended to ceiling, guide the leg through the circle via the strap
- Knee Circles: strap behind your thigh
- Scissors and Bicycle: wrap strap around your upper arms
Seated
- Lateral Breathing: Wrap belt around your rib cage
- Spine Twist: with strap wrapped around your ribcage, crossing over, hold opposite end
- Spine Twist: Stretch strap across your upper back, pull strap taut
- Backbend: strap across your mid back, bend over the strap
- Spine Twist: hold strap overhead
- Side Bend: hold strap overhead
- Spine Stretch Forward: hold strap in front of you
- The Roll Up: hold strap with hands
- The Roll Up: Strap around your feet, keep strap taut the whole time
- Climb a Tree: strap around one foot
Prone
- Dart + Shoulder Extension: Hold belt behind your back, lift and lower your arms, palms facing up or down
- Prone Extension: lift your chest, moving from the thoracic spine
- Double Leg Kicks
- Swimming: Place belt under your lower abdominal wall, try to keep belly away from strap, so the instructor can pull it out
Side-Line
- Side Balance
- Side Kicks: Place belt under your waist, keep air under the waist, so your teacher can pull the strap easily
Quadruped + Kneeling
- Push-Ups: tie strap around upper arms to keep them next to chest - hammock feeling
- The Z: hold strap taut between hands
Standing
- Balance on one leg with the belt between your hands: behind your back or in front or overhead
- Pectoral Stretch: hold strap wide with hands, lift arms, lower strap behind your body with straight arms, and reverse
- Arm Raises: strap between hands, pull apart; teach closing of ribs as arms lift (like Arm Arcs, but Standing)
- Side Bend: arms overhead with strap (like the seated version
- Shoulder Extension: hold belt behind your body, move arms away from body
Purchase Your Yoga Belt
- ELEMENTS Yoga Belt (the one I use in the video) Use coupon code MARA for 10% off
- Tumaz Yoga Belt

I'd love to hear from you: Which are your favorite exercises with a belt? Shoot me an email!