Oblique Plank: The Best Exercise for a Tight Waist and Strong Back
Aug 19, 2020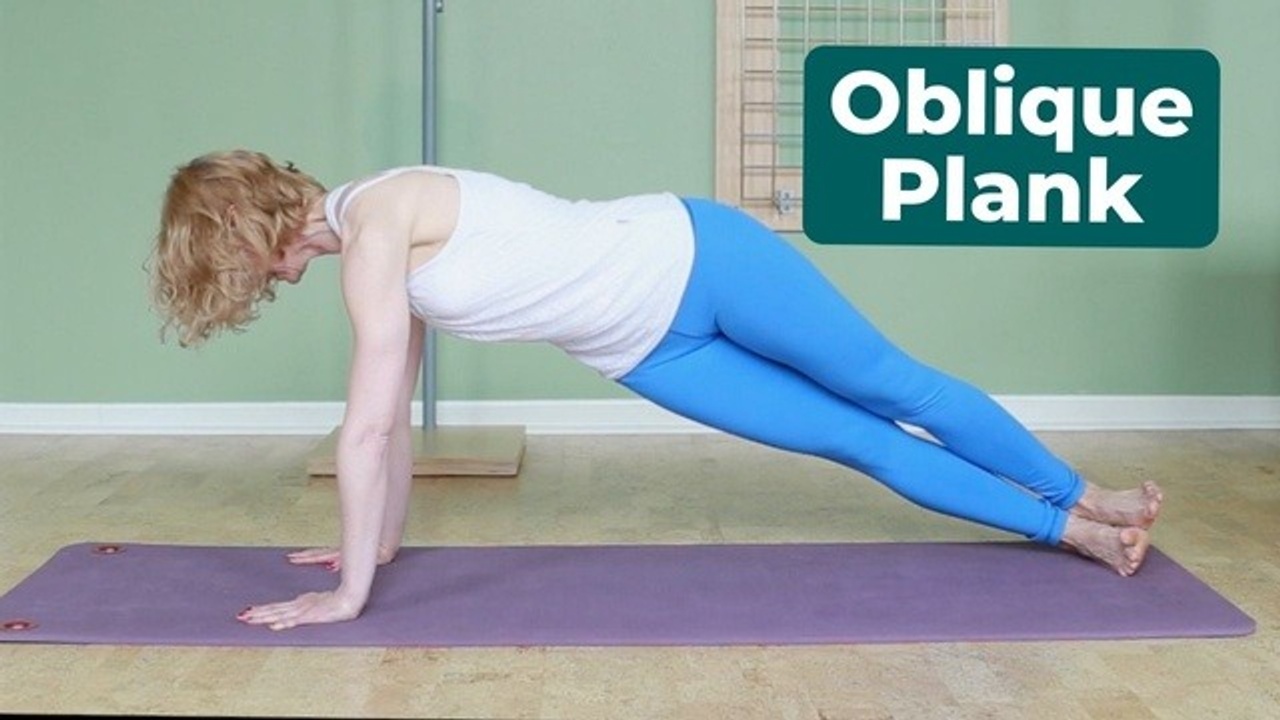
Favorite exercise alert! Okay, I admit it, I have a lot of favorite exercises. But for good reason! They feel gooooood, they energize me, and they make me stop hurting (yes, I have tight muscles, too).
Today's favorite exercise is called: Oblique Plank or Twisted Plank. I made that up. Since I'm not very creative in naming exercises you get what you expect: a twist and a plank, that works your obliques!
Related: Front Control (The Pilates Plank): Common Mistakes and Modifications
Benefits Of Planks
- They strengthen your arms and shoulders
- They strengthen your core, including your transversus abdominal (TA) muscle
- They're a full-body exercise, which means your arms, shoulders, back, abdominals, legs, and feet muscles are involved
- They stabilize your lumbar spine
- They make a skinny waist
Benefits of Twists
- They strengthen your oblique abdominals
- They stretch your back muscles
- They improve digestion by toning your abdominal muscles
- They move your spine in rotation (on the transverse plane)
- They make a skinny waist
This makes Twisted Planks the best of two worlds. Yay! Let's do it!
Tips For The Perfect Pilates Plank
- Position your wrists directly underneath your shoulders
- Straighten your elbows fully but don't lock them
- Press the first and second toe firmly into the floor
- Lift your thighs
- Lift your waist
- Slide your shoulder blades down your back
- Keep your hips no lower than a diagonal between your heels and shoulders, or even a little bit higher. Choose the point where you feel your core working the most. (The weaker your core, the higher your hips should be.)
So far so good. Let's move on...
Step #1: Position Your Right Foot
Turn your right foot so your toes are pointing to the left and the outer edge of the foot is on the floor. Keep your foot very flexed to protect your ankle. Half of your body weight will be supported on that foot, and pulling your toes strongly up to your shins (dorsiflexion of the ankle) will engage the muscles around the ankle, all the way up to the knees. Make sure your outer ankle bone is not touching the mat.
Step #2: Position Your Left Foot
Then, turn your left foot, so your toes are pointing to the left, the inner edge of your left foot is on the mat. Keep it strongly flexed, as well.
Common Mistakes Of The Oblique Plank
Let's find those sneaky ways in which the body uses the path of least resistance to make the exercise useless and correct them.
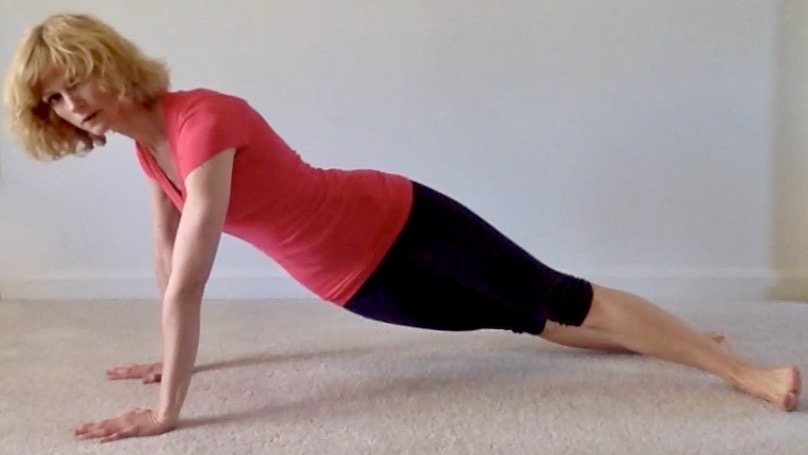
Common Mistake #1: Hips Off Center
Check that your hips are not pushed out to one side. Instead, keep your hips aligned between your ankles and shoulders, as seen here:

Common Mistake #2: Hips Too Low
Are your hips too high or too low? At first, they will probably be too high. That's okay. Try to lower your hips a bit. This will make the twist more intense. BUT if you start to feel your back instead of your abdominals, then it's too early for you. Your back might be too tight or your core too weak. If you feel your low back tweaking, lift your hips a little bit higher. Over time you can work up to lowering your hips a bit to make the twist more intense. Never lower the hips below the diagonal. (This is also called sagging, yikes!)
Common Mistake #3: Collapsed Feet
Most of us have weak ankles and feet. Your feet shouldn't rest on the floor, they should look like kickstands. Pull your toes up to your shins like you mean it, especially your pinkies. Neither the inner or outer ankle bones should touch the mat. Neither sole of the feet should touch the mat.
Common Mistake #4: One Arm Bent
Is one of your arms slightly bent? Is one shoulder lower than the other? If your back muscles are tight or your spine rotation is restricted, then your body will look for ways to reduce the twist. Bending one arm is an effective way to reduce the amount of rotation in your spine. By keeping your arms really straight and your shoulders perfectly level, you'll increase the rotation of your spine.
Oblique Plank Progression: Stack Your Feet

Oblique Plank Transition: Front Control > Oblique Plank > Side Plank
As you see in the video at the top, I'm getting into this position from Front Control, your standard forward plank. If you have the strength, lift the arm on the side that your feet are pointing towards and you'll be in a Side Plank position.
When you start to teach this regularly in your classes, your students might consider the Oblique Plank to be a transition from Front Control to Side Plank. They will tend to rush into the Side Plank instead of suffering enjoying the benefits of the twist. In order to get the most out of the Twisted Pank, you'll have to remind them that Oblique Plank is a separate exercise. You could tell them to stay in the twist while your count to 5, before lifting the arm and opening to the side. I sometimes just say. "hold hold hold hold, keep breathing".
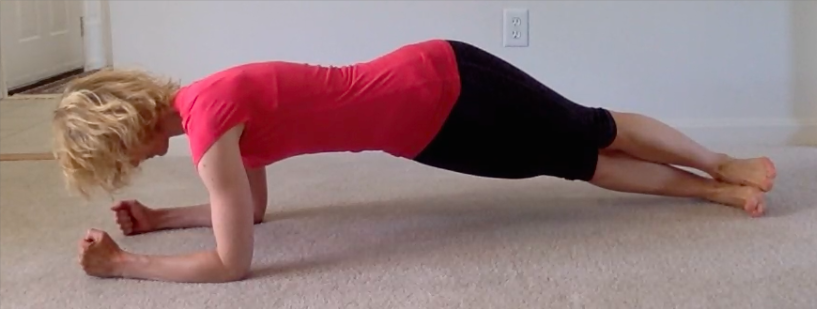
Oblique Plank Modification for Wrists: On Your Elbows
If you have trouble putting weight on your wrists in the plank, you can do this Twisted Plank on your elbows as well.
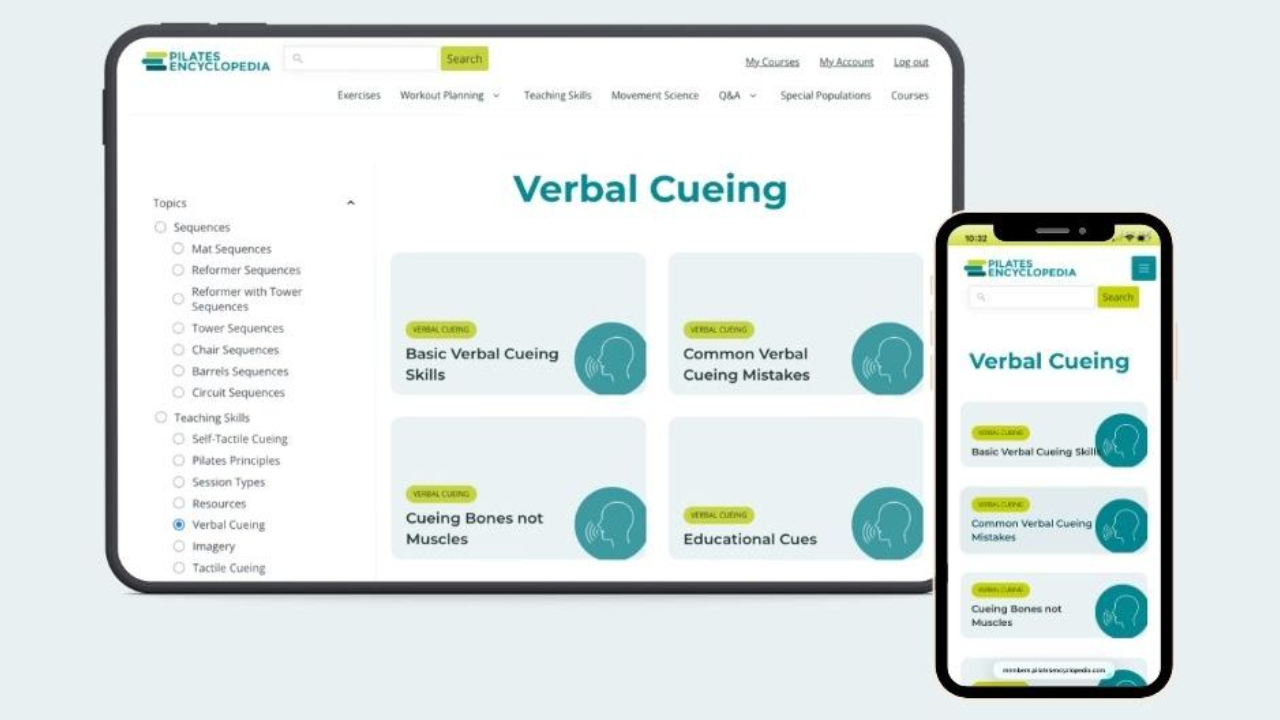
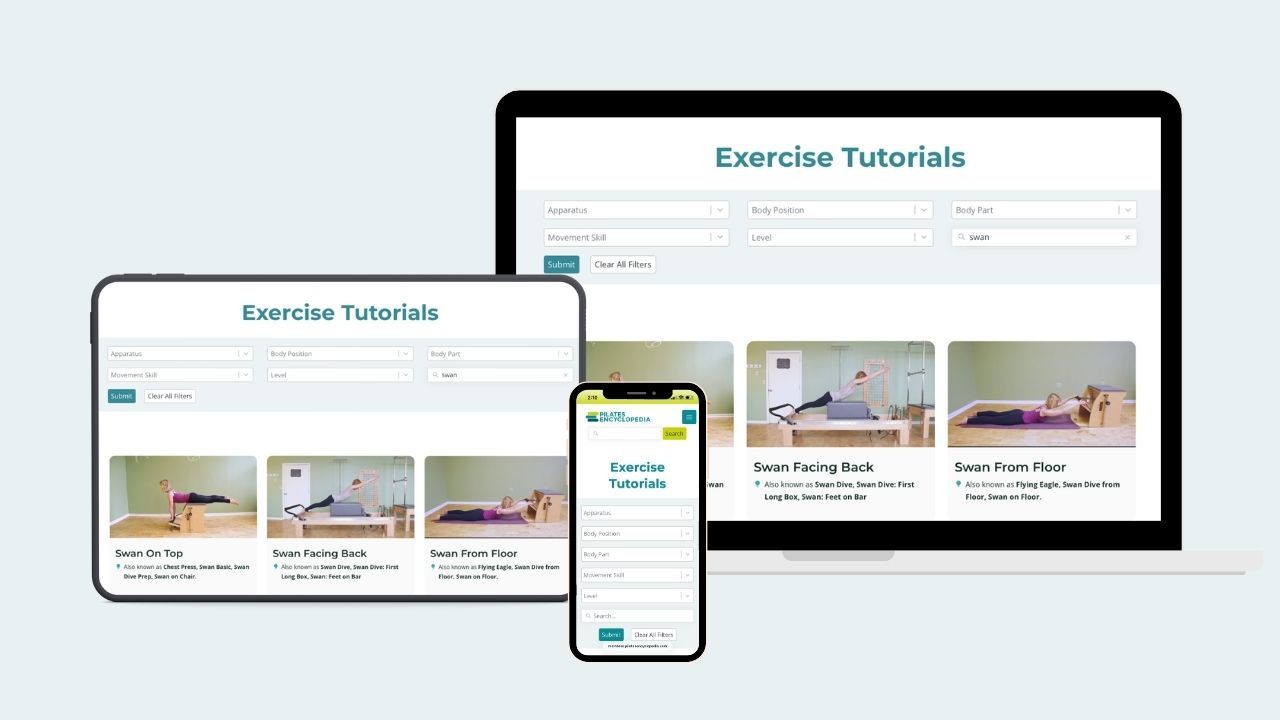
Inside the Pilates Encyclopedia member library, we have a whole list of Plank variations and spine rotation exercises. Learn more about the membership...
I'd love to hear from you: What do you like about the Oblique Plank and what do you struggle with? Shoot me an email.