How to Cue Neutral Spine in Reformer Footwork
Feb 06, 2019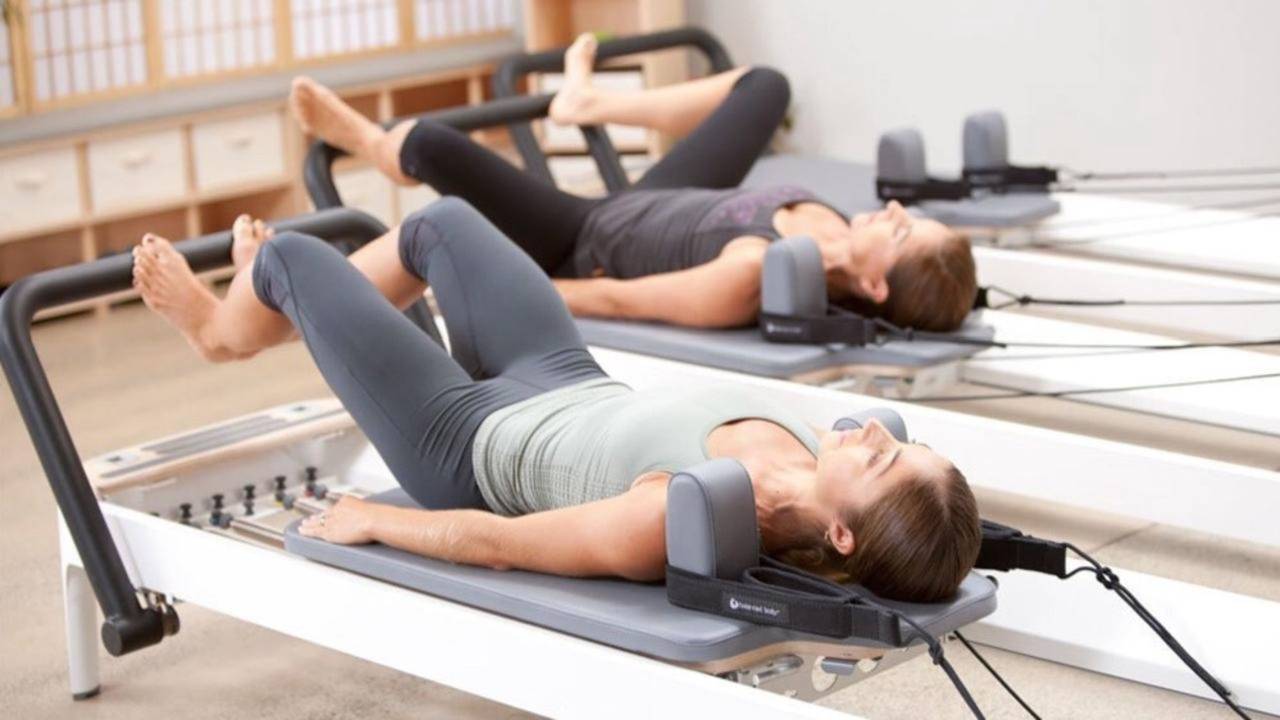
In previous posts, I discussed the breathing pattern in Footwork, and I explained how your breath moves the spine.
Today we’ll discuss the best way to get you(r student) to maintain a neutral lumbar curve and stable lumbo-pelvic region during the bending and straightening of the legs.
First off, the ability to move your legs independently from your torso is called hip dissociation. Many of us have trouble keeping the spine unaffected by our leg movement because our hip musculature has developed in an imbalanced way. For instance, your hamstrings might be shorter than your hip flexors or your external rotators are weaker than your internal rotators.
It could also be that you were told that tucking your pelvis protects your back and you’ve made that a habit.
Here is how I approach Footwork:
The first step is to ask them the absolute simplest thing: “Push your legs to straight, then bend them again.”
I let them repeat this a few times. If I see them banging the carriage into the stopper, I ask them to “Keep a little bit of tension on the spring at the end, so don’t return the carriage all the way to the stopper. This way your muscles keep working.”
I might add another cue regarding the quality of movement, such as “Move fluidly with an even and deliberate rhythm.” Some people move excessively slow and some rush through the exercise, not noticing what’s happening along the way (and possibly chatting about their stressful day at work).
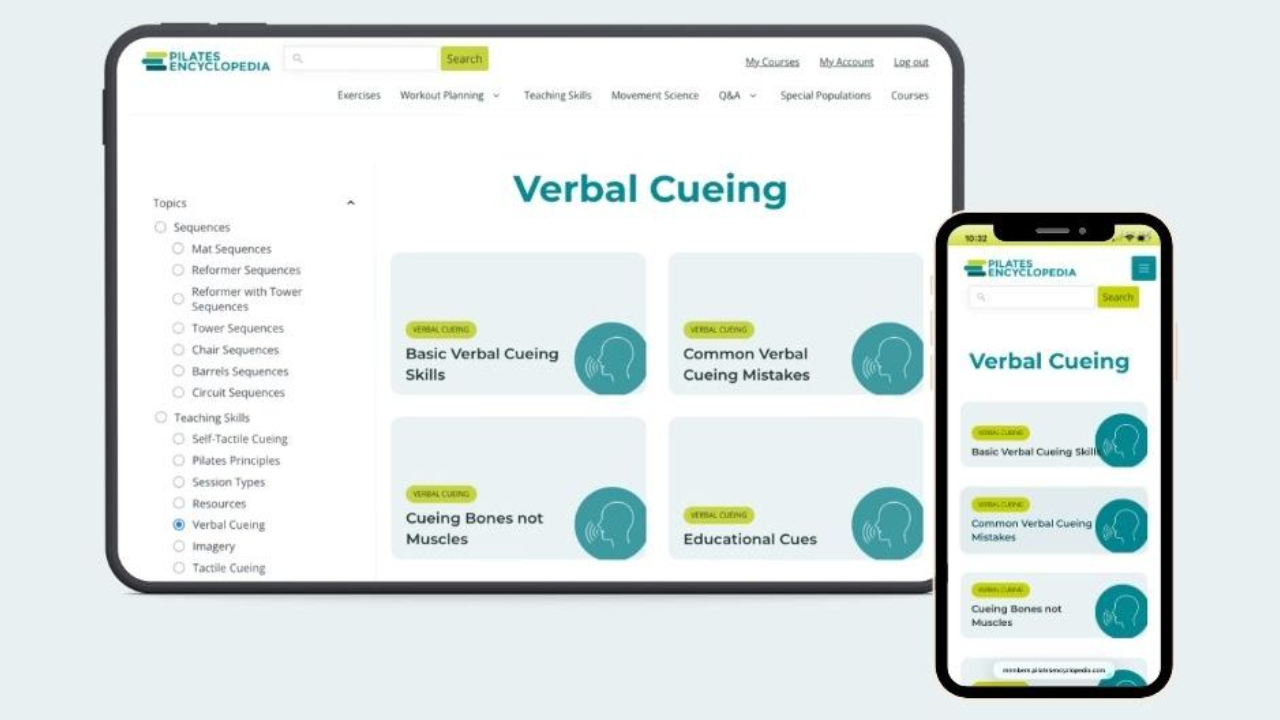
Related: The Cueing Cure: Dramatically Improve Your Verbal Cueing in 30-Days
You might have noticed that I haven’t mentioned the breathing pattern yet, because I want to first observe the student’s habitual pattern. Some students tilt their pelvis anteriorly when pushing out (due to a lack of abdominal awareness and strength), and some tilt their pelvis posteriorly (often due to having learned and practice the “navel to spine” cue and applying it incorrectly in a neutral spine exercise.)
Depending on what the faulty movement pattern is, I suggest the best breathing pattern to correct it. In the two examples above, I’ll tell the first student to exhale when pushing out (preventing the anterior tilt) and inhale on the way in. The second student will be encouraged to inhale when pushing out (preventing the posterior tilt) and exhale on the way in.
Up until now, I haven’t spoken about a neutral pelvis or spine, because I wanted to see if we could use the body’s natural intelligence to correct the faulty pattern.
Another quick and easy cue is to “breathe into your back”. This keeps the rib cage anchored on the carriage without much extra thought. Just remember that many people don’t know how to breathe into their backs, or their back muscles are tight and don’t allow the expansion of the ribs posteriorly, so this is a cue that I mostly use for long-time students who have the ability to expand the back ribs during the inhale and who just need a quick reminder.
If they still continue a strong arching or tucking pattern after the above corrections, then I will teach the Three-point-contact.
To some students, correcting the pelvic position to neutral is new and feels very strange. “Rolling the pelvis towards the tailbone” will create a huge space under their backs and they are confused because they have learned that that’s bad.
Explain to them that they can minimize that gap by anchoring the ribcage down. This will hopefully put them at ease and they’ll give it a shot. Since this is a strong pattern that they’ve practiced for many years, rolling their pelvis more anteriorly will lift their ribcage excessively.
I let this happen the first few times, because if I correct the ribcage then they will automatically tuck the pelvis again, and we’re not getting anywhere. First, they need to break the pattern of the tuck (turning off the rectus abdominis who pulls the pubic bone to the navel and the hamstrings that pull the sit bones to the backs of the knees), then we can use a good exhalation to help the ribcage sink down and reduce the gap under their back.
Another way to explain the gap is that it should be a bit lower than they think. When the ribcage is lifted then the gap is at the line of the bra strap. If the lumbar spine is in neutral than the gap is behind the navel.
Okay, I have one more tip:
Help them find the exact spot on the back side of their pelvis or sacrum that they should feel heaviest on the carriage. Then ask them to keep the same exact spot anchored while bending and straightening their legs.
Cheers!