The Three-Point-Contact
Nov 21, 2018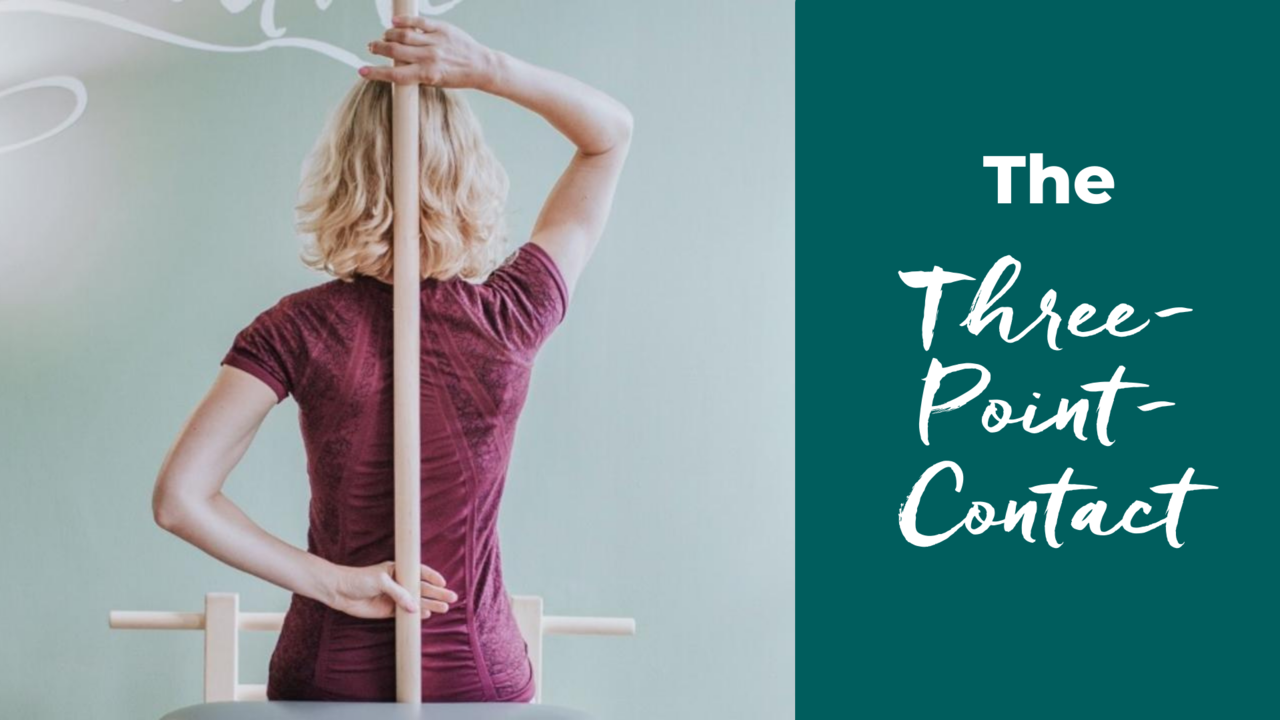
The Pilates method lives in the details. We can get caught up in all of the many tiny adjustments. So when I come across a shortcut to fix someone’s alignment without saying much I frolic.
The three-point-contact is one of those shortcuts. Neutral spine is a term that has been obsessing the minds of Pilates students and teachers alike for years, if not decades. When I used to teach lots of Pilates mat classes, I often used the term neutral spine. I thought teaching my students the technical term would help them correct and remember their alignment. After all, that’s what I heard from other teachers. After a while, I realized that my students understood that they should be in a neutral spine position, but watching them I saw that they actually didn’t know what that meant.
Related: The Cueing Cure: Dramatically Improve Your Verbal Cueing in 30-Days
The problem with terms like neutral spine, is that they don’t tell you what to do. They tell you what the outcome should be but not how to get there. You don’t know the actual steps. So I started to call it the three-point-contact.
The three points are:
- The back of your head; make sure your nose and gaze point straight up towards the ceiling (if you’re lying down) or to the line of the horizon (if you’re standing, kneeling or sitting).
- The space between shoulder blades, your bra strap line, or the area of the lowest rib pair.
- The lower part of the sacrum, very close to the tailbone.
Now when I see that a student’s pelvis is tucked or their rib cage flared or their neck hyperextended, I remind them to “Find your three-point-contact”. This quick cue tells them exactly what to do.
It’s empowering for the student because they have a tangible tool, and it’s fun for the teacher because she can save her precious voice for something more important and less repetitive. (No one likes to be a broken record.)
It’s easiest to practice the three-point-contact when lying on your back. Feeling the mat against these three points will give you the feedback you need to make necessary adjustments.
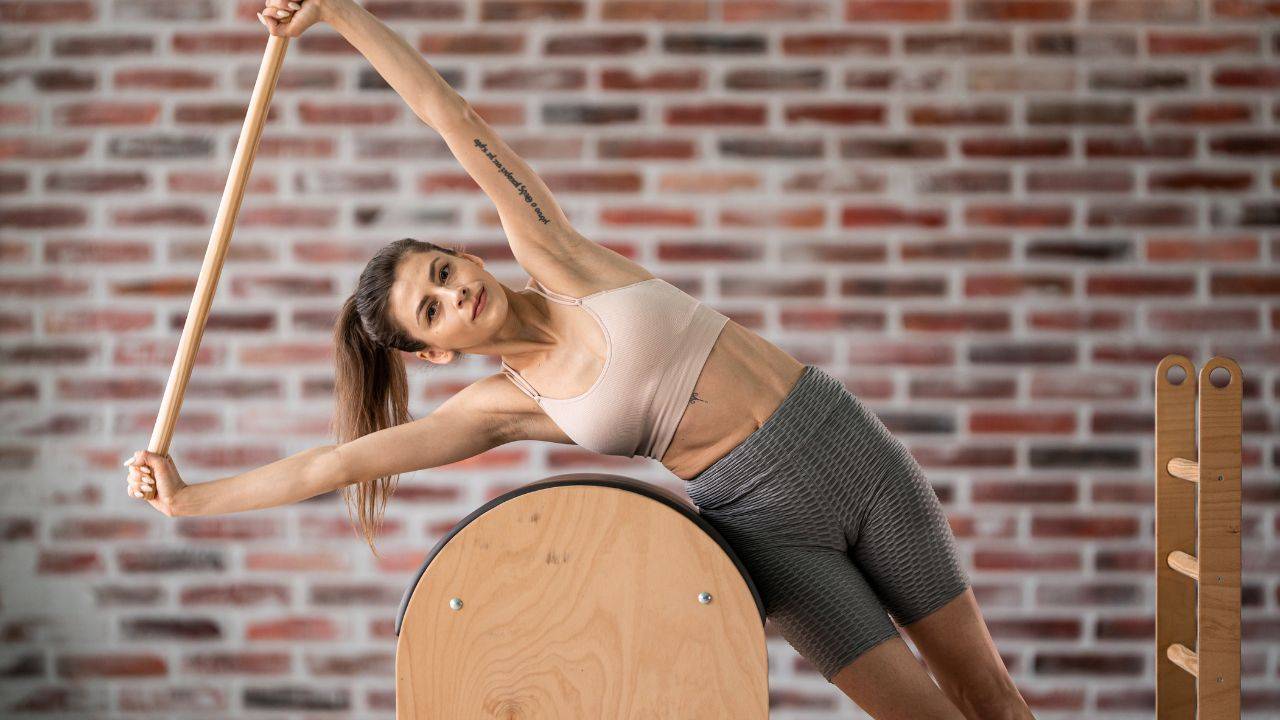
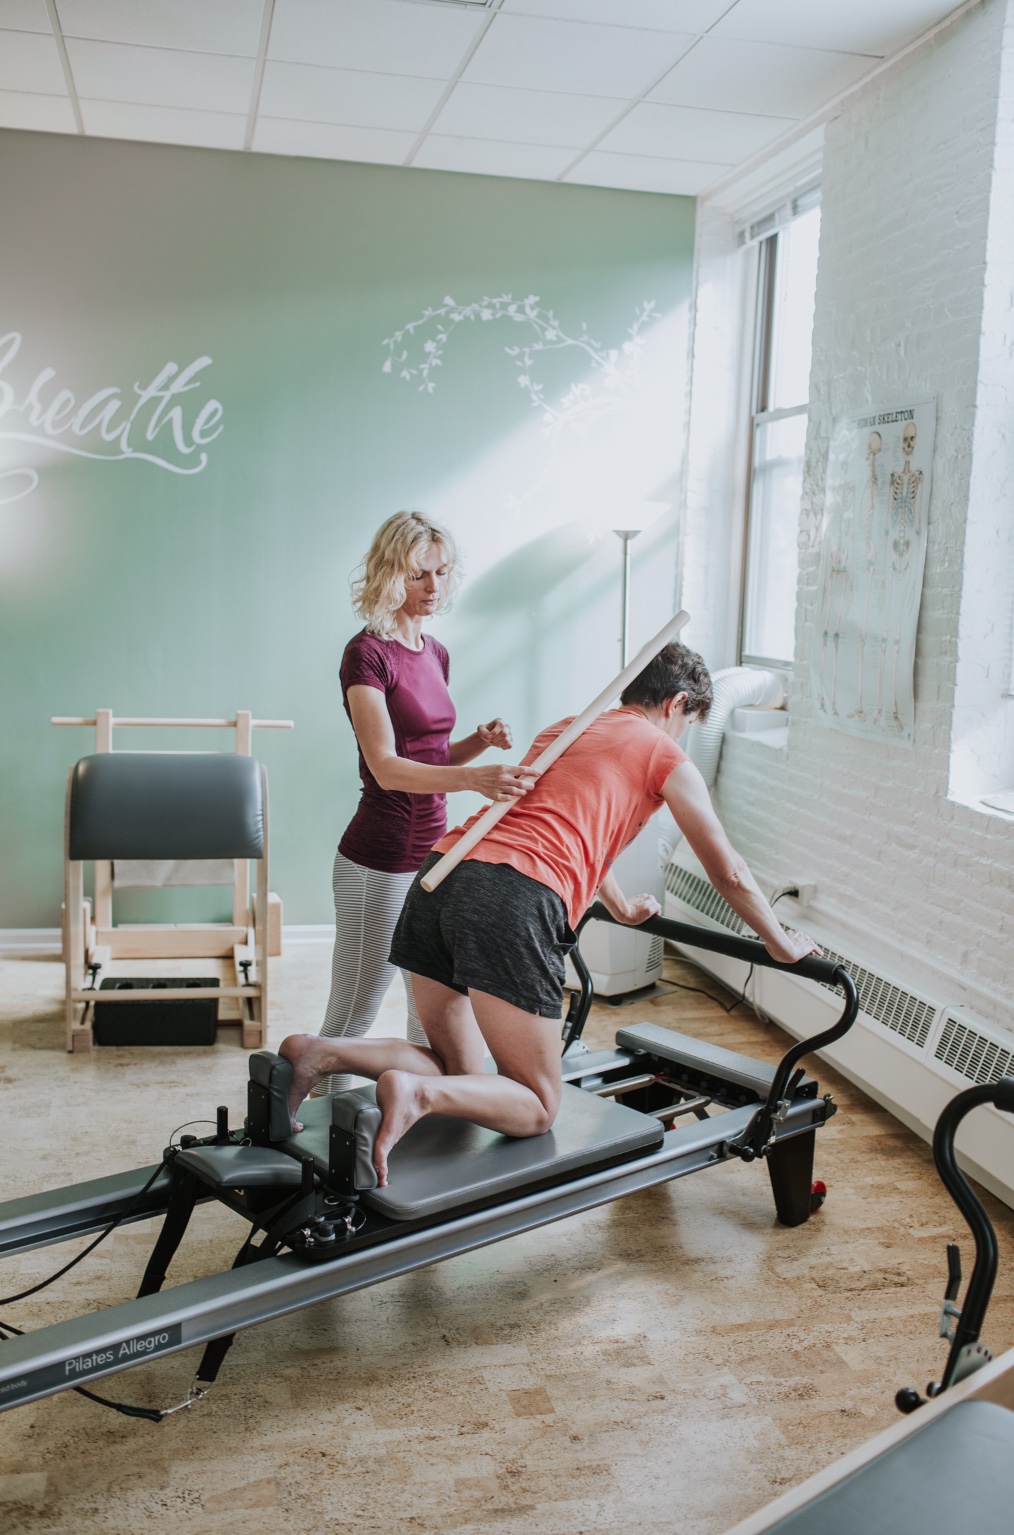
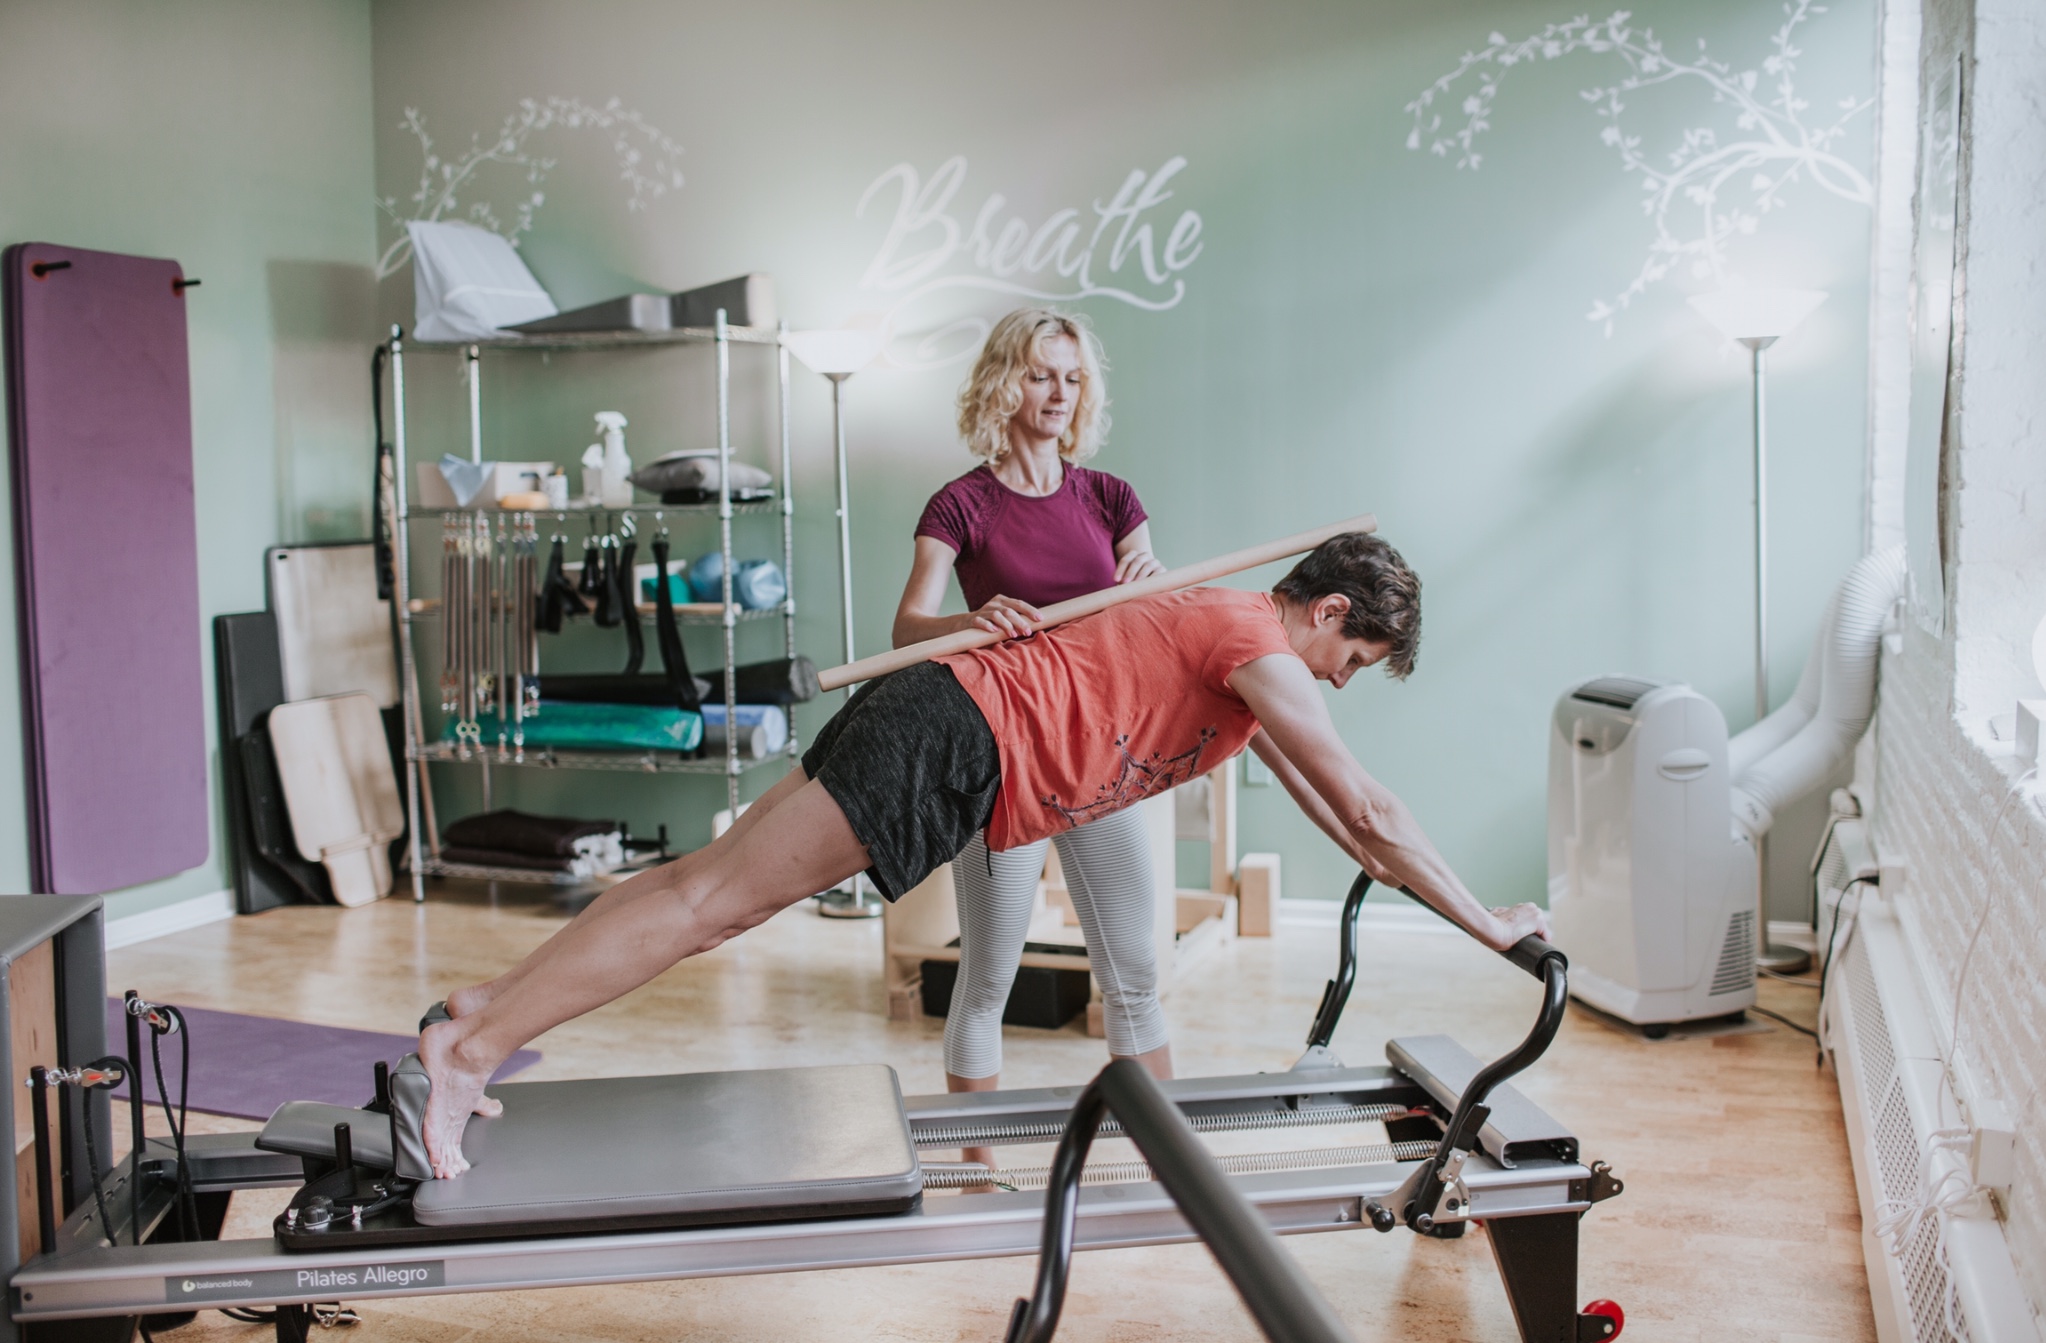
But you’re not limited to a supine position. One of the most valuable tools I’ve learned to use is a simple wooden dowel. You can place it against your (student’s) back and feel where the head, mid-back and sacrum are in relation to “the stick”.
I use the dowel regularly in exercises such as
Reverse Abdominals
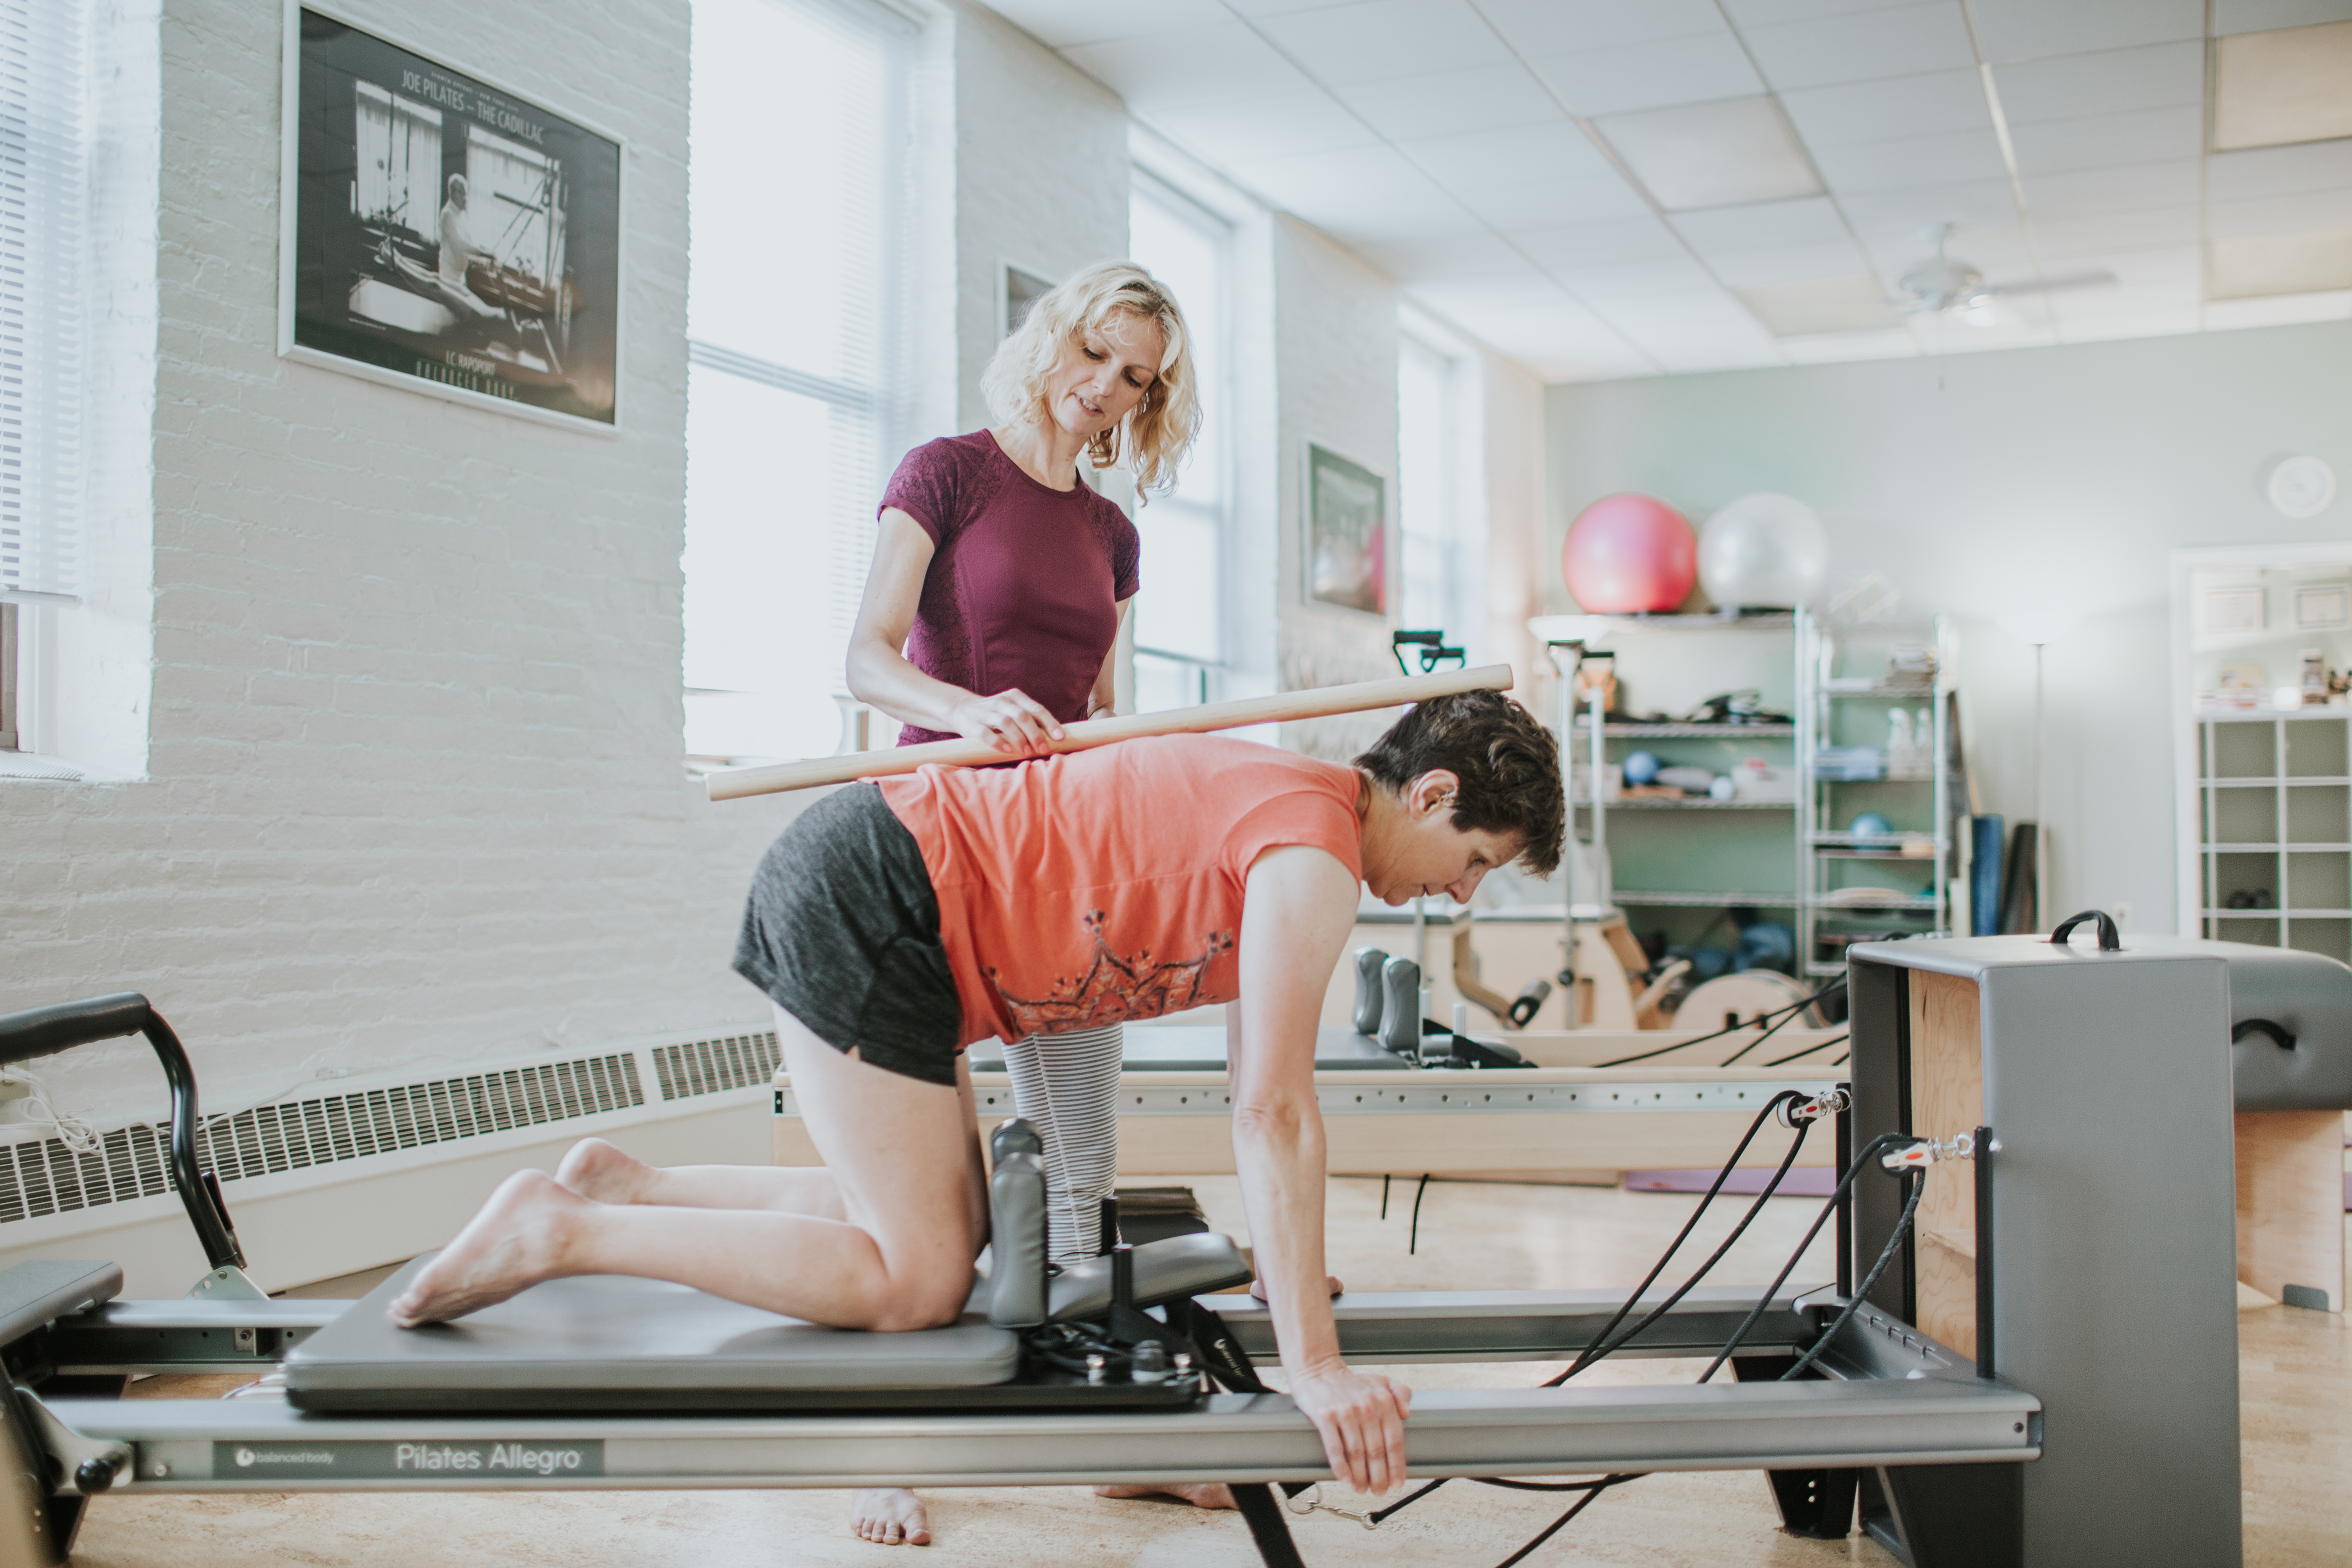
Knee Stretch
Long Stretch
Scooter

Short Box Series: Flat Back

Short Box Series: Flat Back + Oblique


Horseback

Footwork
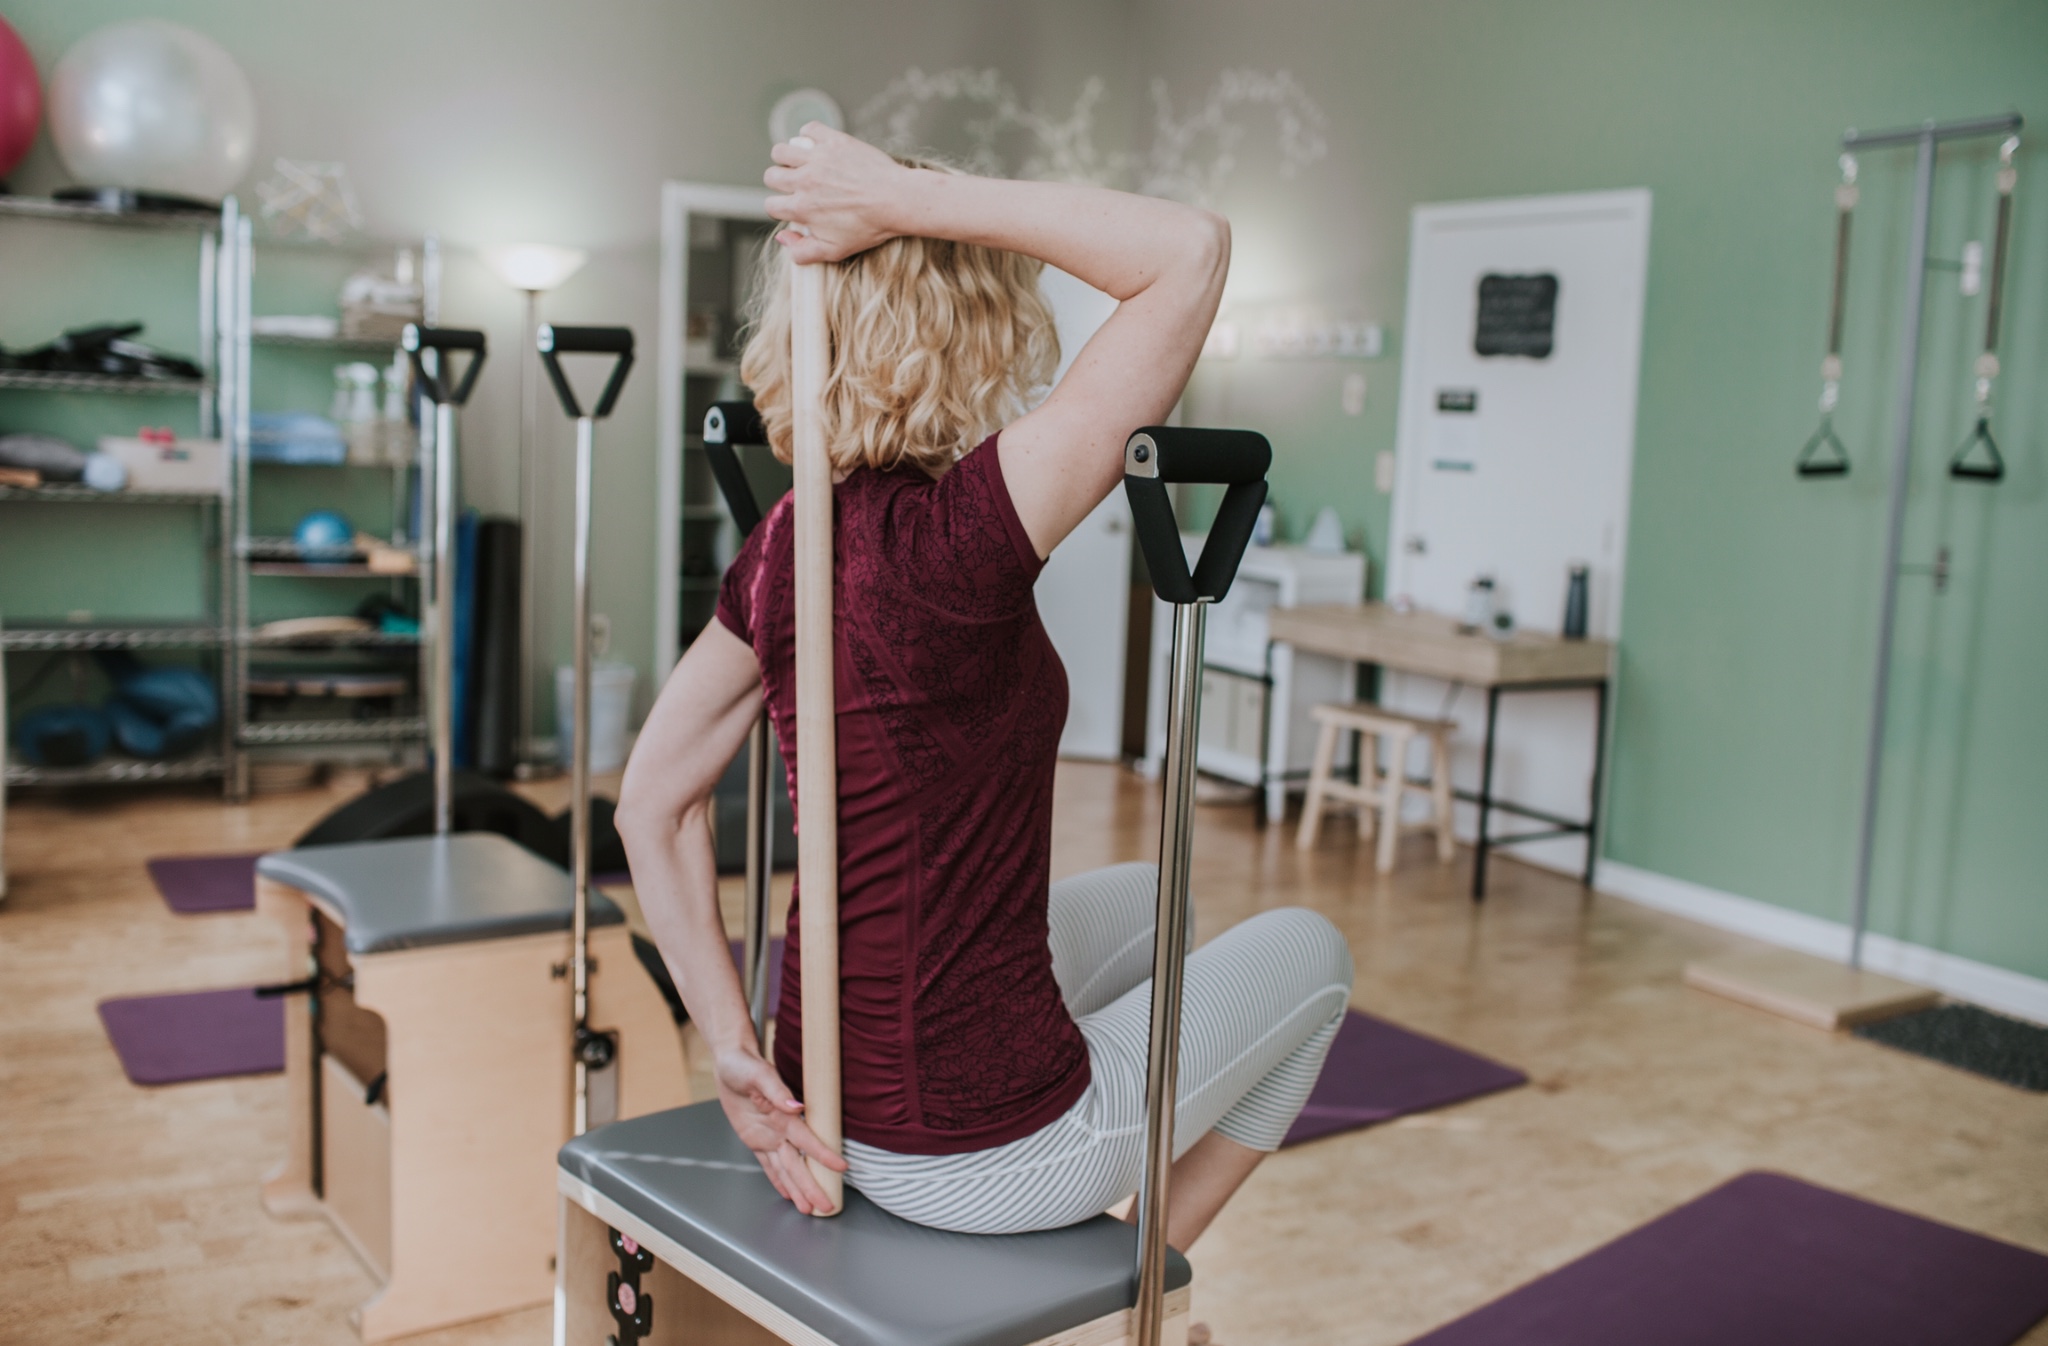
Seated Pull Down

Hip Extension

Spine Twist

Spine Stretch Forward

If you have access to a Pedi-pole, you can use that instead of a dowel. Standing against the pole does just that, it gives you feedback about your spinal alignment.
Standing Roll Down

Just thinking of the Pedi-pole, I desperately want to tell you all about my favorite exercise the Standing Roll Down, but I’ll save that for another time.


