How To Choose Pilates Apparatus For a Small Studio Space
Jun 13, 2023
So, you’re thinking of opening your first small Pilates studio?
Whether that’s in your home or you are renting a small commercial space, it’s incredibly important to think about what equipment to purchase.
Not only is good Pilates equipment expensive, the apparatus you purchase has a huge effect on your class or session offerings and that in turn will determine what type of clients you teach. This can make or break your success as a Pilates instructor.
That being said, it’s always possible to sell some of your equipment again and purchase a different model if your needs or your clients change in the future.
This post contains affiliate links, which allow me to continue offering tons of excellent free content on this site. I only recommend stuff I love.
In This Article:
Do You Prefer Teaching Groups or Privates
What Type of Clients Are You Teaching
Tips For Making The Most of Your Small Pilates Space
Choose 2-in-1 Apparatuses
Do You Prefer Teaching Groups or Privates
What excites you more: teaching a room full of energetic clients or focusing on one person at a time and developing deep connections with your clients?
One is not better than the other, it really depends on how you want to spend the rest of your teaching years.
Group Class Focus
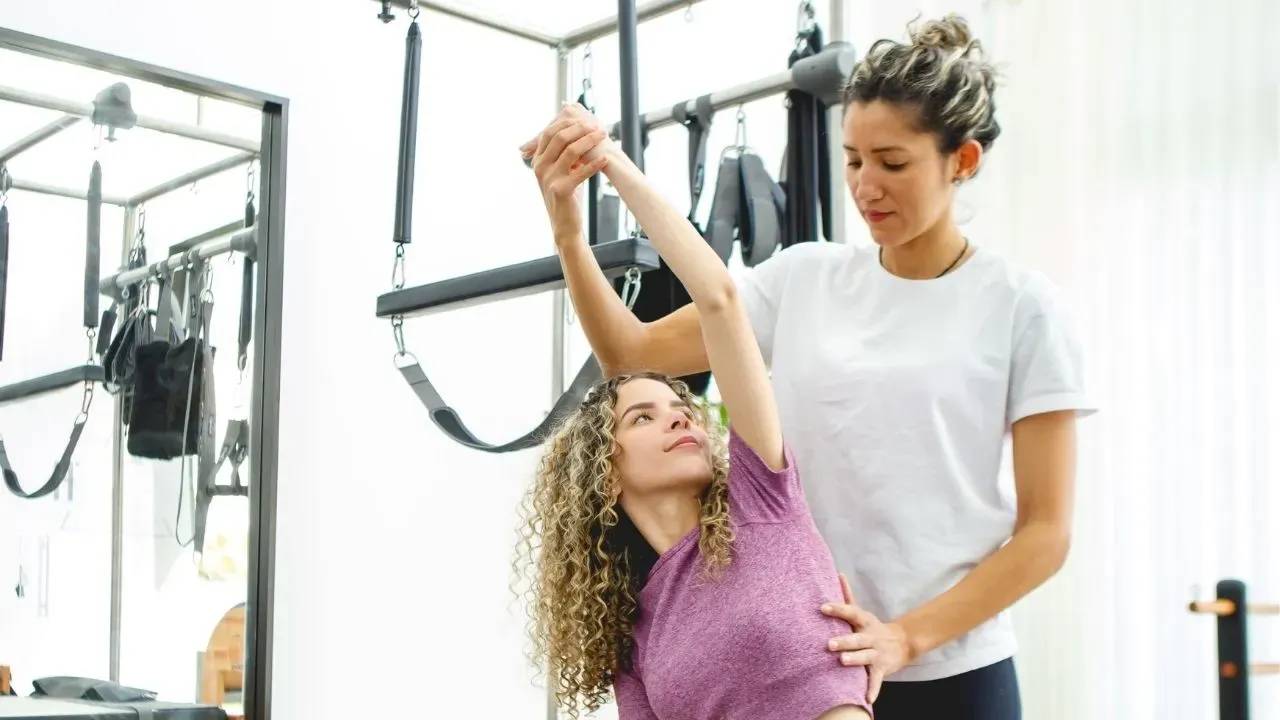
If you prefer teaching group classes, then the obvious thing to do is purchase multiple pieces of the same apparatus. In order to create a supportive environment for people with varying abilities within the group atmosphere, I encourage you to accessorize heavily.
By stocking up on pillows and cushions, towels and bars, blocks and handles of various density, size and shape, you’ll be able to adapt the exercises to each individual client.
Most Pilates studios offer group Reformer and/or mat classes. Purchasing as many Reformers as you can fit into your space is the natural choice.
Adding Towers to the Reformers increases your exercise repertoire tremendously. Luckily you don’t have to make that investment right away in the beginning. Towers can be added easily after a year or two.
Instead of a Tower attached to a Reformer, you could mount springboards on the wall space between the Reformers and place mats in front of the springboard. This way you don’t have to add and remove the conversion mats and you can quickly switch from Reformer to Tower exercises.
By choosing Reformers without Towers, you could consider going with the type that stacks or can be stored upright, which allows you to use the now available floor space for Chair classes or Spine Corrector classes.
- Peak Pilates MVe Reformer can be stacked 4 high
- Balanced Body Allegro Reformer can be stored upright; just make sure your ceiling height accommodates this
- Balanced Body Allegro 2 Reformer can be stacked or stored on its end
- STOTT’s SPX Max Reformer can be stacked or stored upright
Some chair models can also be stacked as well as these foam Spine Correctors or baby arcs:
- Peak MVe chairs can be stacked 5 high
- Balanced Body’s Exo Chair can be stacked 2 high, with the top one upside down, so upholstery meets upholstery
- Balanced Body’s Pilates Arc or Clara Step Barrel Lite are light enough to be stacked easily by one person. The same counts for Baby Arcs.
Stacking Reformers will require someone’s help. You can always ask the client that’s leaving or arriving to help. Make sure to only let a client help who is strong and healthy enough to lift the Reformer with you. And don’t forget to teach them to lift from their legs and core, instead of their arms and back.
A Reformers that stand up on their end might be maneuverable by one person, but they are still heavy.
Either way, it does require time and effort to transform the room. If your schedule switches back and forth between types of classes a lot, this could end up being a lot of work for you. I highly recommend not doing it alone all the time to avoid burnout or overuse injury.
When purchasing arc barrels, I would highly recommend purchasing different shapes! Instead of getting 6 Pilates Arcs, I would go with 3 Arcs and 3 Clara Step Barrels. Or 6 Arcs and 3 Clara Step Barrels, if it’s in your budget. Why? Because different body types need different shapes or equipment. Tall and/or stiff clients will prefer the Pilates Arc. Shorter and/or flexible clients will do better with the Clara. By having three extras you can offer the perfect apparatus to each of your clients. Quick note: I wouldn’t go the other way round. Many people can’t deal with the steepness of the Clara Step Barrel.
The same is true for props. Make sure you accumulate firm and soft foam rollers, balls of different sizes. I know that color-coordinating your props makes the space feel more organized, but people like and tolerate different things. I used to be happy rolling on a thin yoga mat and lying supine on an extra firm foam roller and then I turned 45 and everything changed. 🙂
One-To-One Focus
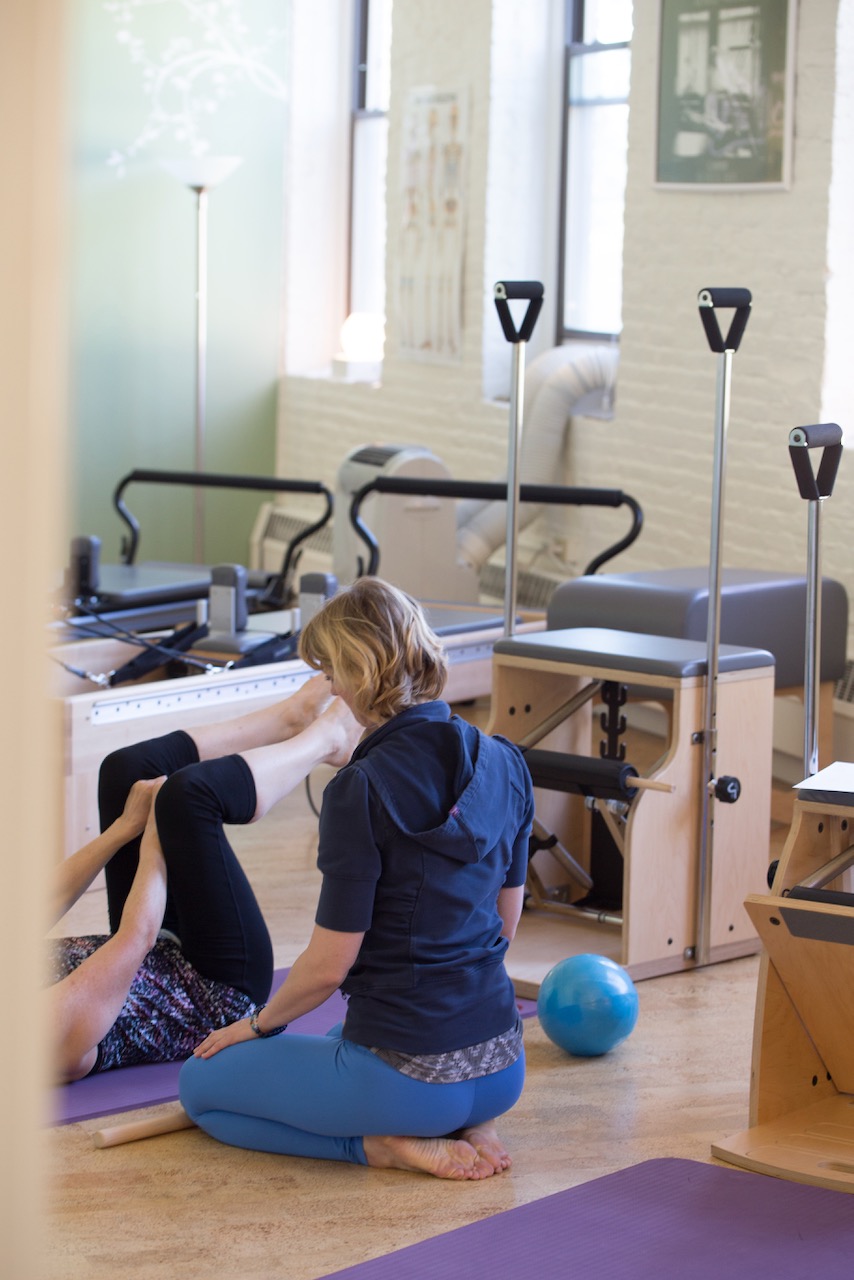
When teaching one-to-one private sessions, I would recommend purchasing one of each apparatus (or whatever you can fit). Start with a mat, a Reformer, a Spine Corrector and if in your budget a Chair.
Teaching lots of one-to-ones and maybe using lots of hands-on cueing, I encourage you to consider a taller version of the Reformer. 18 or 24 inch legs are recommended to avoid straining your back while teaching hours and hours of private sessions. “Regular” height Reformers of 14 to 16 inches - while great for group classes and rooms with low ceilings - can be quite challenging for the teacher. I started teaching on those, and found myself sitting on a Reformer box or rolling stool next to my client a lot to avoid bending down to my student repeatedly.
Also, the lower the Reformer, the harder it is for your elderly or injured clients to get on and off the machine.
I would never recommend Reformers without legs for a professional environment. The only exception is if you already have multiple Reformers and want one for those clients who are afraid of heights to do standing exercises on the Reformer. This is a very specific scenario and since we are talking about using a small space efficiently, using a low-to-the-ground Reformer would not do that.
The Trapeze Table-Reformer combo gives you a full canopy for all Cadillac exercises. So, you basically get two full apparatuses in one. Transforming the apparatus might take a few seconds here but is not as much work as stacking Reformers. This reminds me to ask your students to help you grab mats, props, and other accessories. Don't do it all by yourself. Once your students know the drill, you can save so much energy.
Alternatively, you could install a Wall Tower or add a Tower to your Reformer, either immediately or later on. Adding a Tower to your Reformer takes away the ability to stack your Reformers or store them upright, but if you teach mostly Reformer classes then adding the tower multiplies your exercise options. Alternatively, I’ve seen studios move their Reformers next to a springboard which acts as the tower. If you’re doing this just make sure your Reformer is on a non-slip surface so it doesn’t slide when you start working with springs that are mounted on the springboard while sitting, lying, kneeling or standing on the Reformer.
I would recommend a Wall Tower over the Springboard - even the one with the push-through bar -because the latter doesn’t allow you to push the bar through the vertical line and you’ll lose quite a few exercises.
After reading this you might be thinking that you wouldn't be able to teach semi-private sessions if you only have one of each piece of apparatus. Actually, you absolutely can. Just differently. And because this article is getting way too long already, check out my article about "how to teach semi-privates" inside the membership. Not a member? Just email me at [email protected] and I'll explain.
Tips For Making The Most of Your Small Pilates Space
Go for rooms with tall ceilings
A really important consideration when choosing your Pilates space is ceiling height. For exercises where you stand on the Reformer or Chair you need higher than average ceilings.
I’m 5 feet and 6 inches (167 cm) tall. If I stand on the Reformer I’ll need 70 inches of vertical space (that doesn’t include my arms reaching to the ceiling. To stand on the Chair, I need 82 inches. To reach my arms straight up while standing on the chair I‘ll need 105 inches; that’s 8 feet and 9 inches. Standard rooms are roughly 8 (96 inches) feet tall.
This makes taller than normal ceiling height one of your most important criteria when searching for a Pilates studio space.
In addition, rooms with high ceilings just feel bigger and if you don’t have a lot of square footage, that’ll make a big difference in how the space will feel.
Use your walls, doors and any vertical space well
Use doors and walls as workout space. Just make sure you lock the door while using it so you or your student don’t get hurt if someone opens the door unexpectedly.
Related: The Wall is a Great Pilates Apparatus
A Springboard or STOTT’s Spring Wall mounted flush to the wall barely takes up any space at all. Wall Towers are great too, but take up slightly more room. When working with small spaces you’ll have to embrace the concept of trade-off. There’s no way around it. Is it more important to save a foot of space and choose a springboard or can you “afford” the extra 20 inches and go with a Wall Unit which will give you more exercise options?
The Fuse Ladder can serve as your springboard as well as stall bars/ Swedish ladder. It can also be used with the CoreAlign, which can be stored upright.

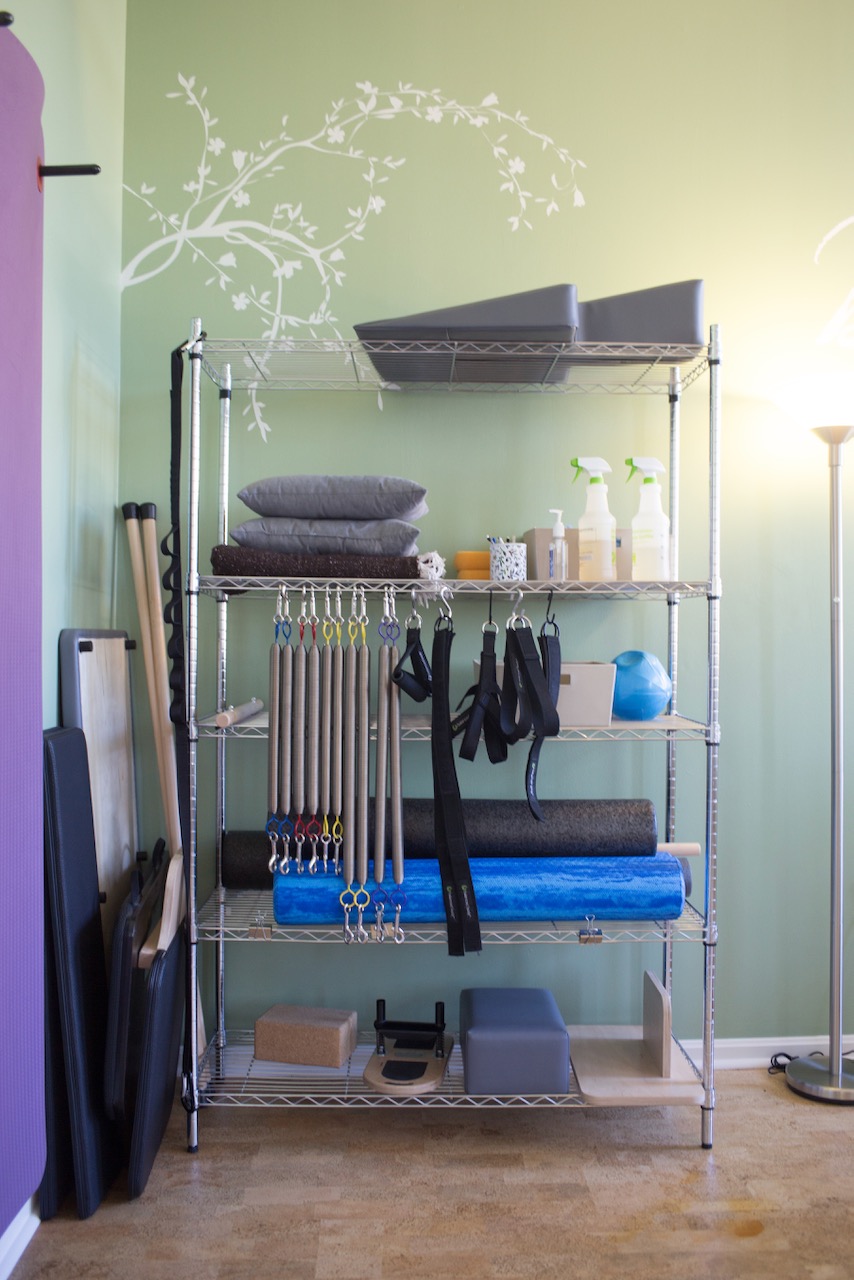
(Photo: Kristin Long DiMiceli via Facebook)
Store your accessories on tall wire shelving or individual wall shelves. Use all the height your room has to offer. You can even clip your springs to the front of the shelf, storing them neatly and organizing them by color (duh!).
Choose 2-in-1 Apparatuses
Joseph Pilates himself was aware of the space issue back in his day. He invented the low chair specifically so his students could workout in their small NYC apartments between sessions at his studio.
The original Wunda Chair came with cushions that transformed the exercise apparatus into a “normal” chair.
When I moved into my current home, I couldn’t afford the counter stools I wanted right away (I naturally chose to spend all my money on Pilates equipment. 😬) So I used my Pilates chair as a counter stool. The height worked out perfectly.
Instead of doubling as furniture, some manufacturers have developed apparatuses that can be transformed into a different apparatus in just a few steps.
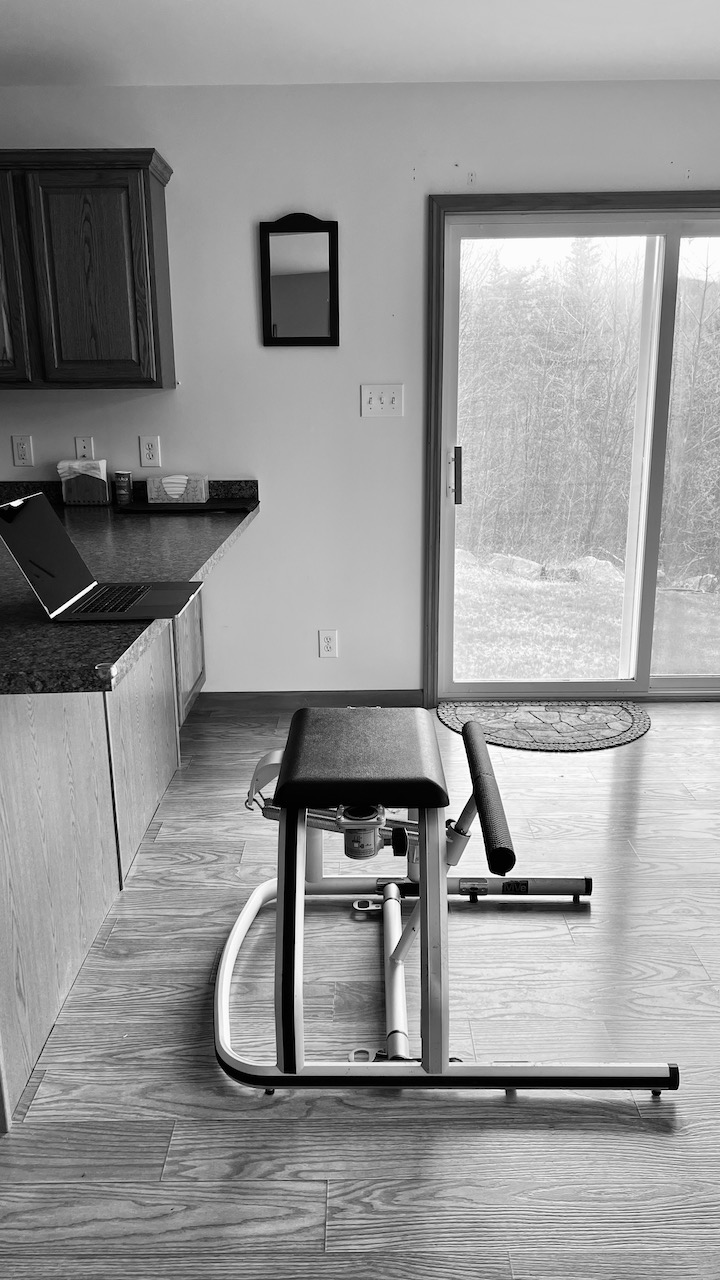
A high back can transform a low chair (such as the Wunda Chair) into a High Chair (also known as Electric Chair).
- Low/High Chair Combo by Balanced Body
- Low/High Chair Combo by Peak Pilates This one comes as a split pedal version (drool!).
- Peak’s Instep Barrel System includes three different shapes of arcs in one Spine Corrector. The arcs can also be used on their own on the mat, as a baby arc. Brilliant!
- Canadian manufacturer Pilates Architects invented the Chairrel. It’s a Ladder Barrel, Chair and 2 baby arcs in one. How cool!
Related: Learn the Ladder Barrel repertoire
Choosing apparatus for your first studio is a hard decision. I've noticed even in other areas of my life that it's extremely hard to purchase the first of anything. You just don't know. Once you've owned your first tent/ running shoe/ tennis racket/ house, you'll know much better the second time around.
Try not to sweat the decision too much. Over time, you’ll realize what works and what doesn’t and give yourself permission to make changes as you go. I started my studio very small. First, I only taught mat and I had some props. Then I purchased my first Reformer. When it was time to order my second Reformer I knew that I wanted a taller model to make it easier on my back, etc.
What works now, might not work later, you and your studio evolve, and equipment can change with it. Luckily, there is the pilates-contrology-marketplace on Facebook, that makes it easier to sell your used equipment.
If I were to open another small studio with the goal of teaching mostly private lessons this is what I would choose:
- Studio Reformer with Tower
- Fuse Ladder
- CoreAlign
- Peak Low/High Chair with split pedal
- Peak’s Instep Barrel System
- Chairrel
Once you’ve made the decision on which apparatus to invest in, now comes the really difficult part: which upholstery color should you choose? Lol!
I'm always excited to hear from you. What Pilates apparatus have you chosen for your studio and how has it been working out? Shoot me a DM over on IG.