How to Use Props to Improve Alignment in Virtual Pilates Lessons
Mar 31, 2021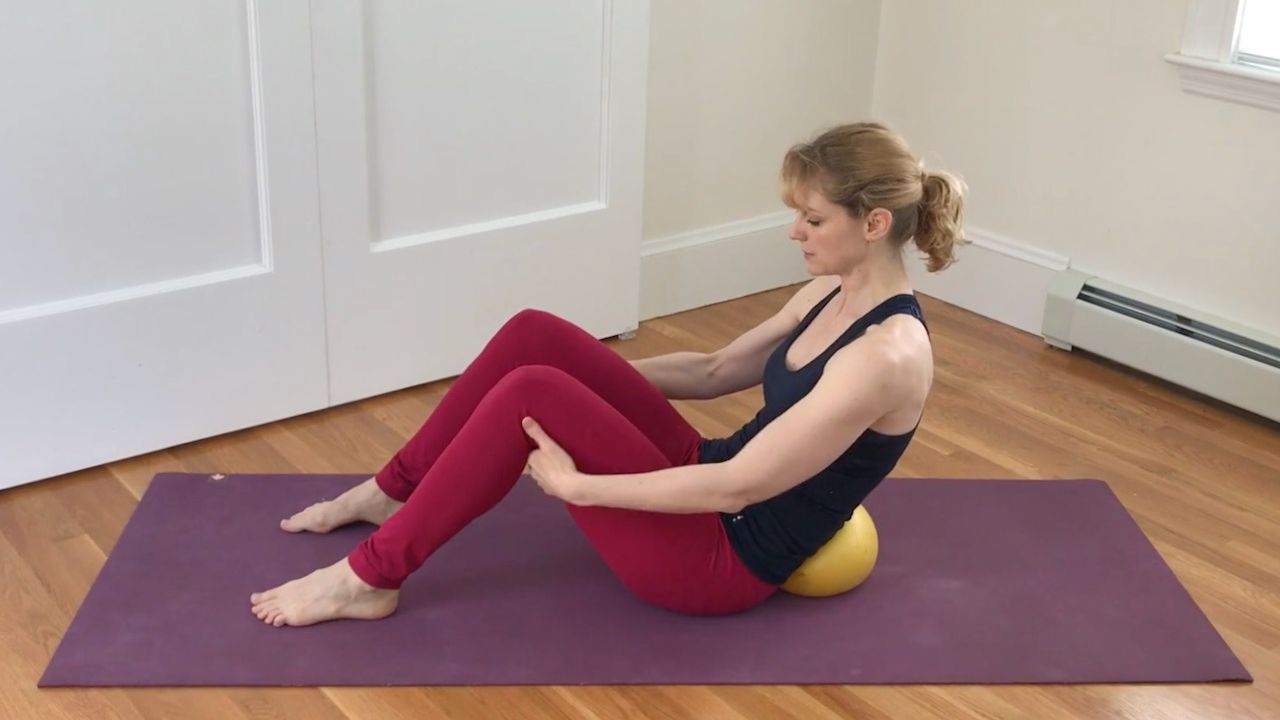
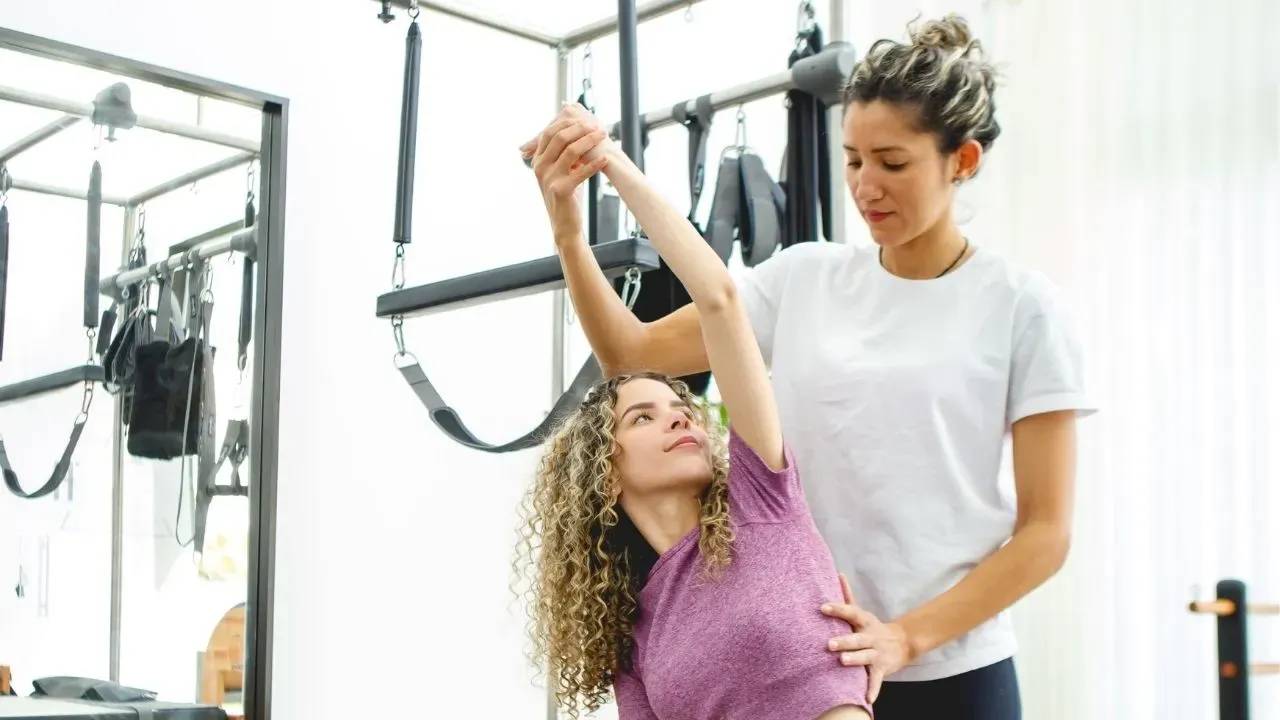
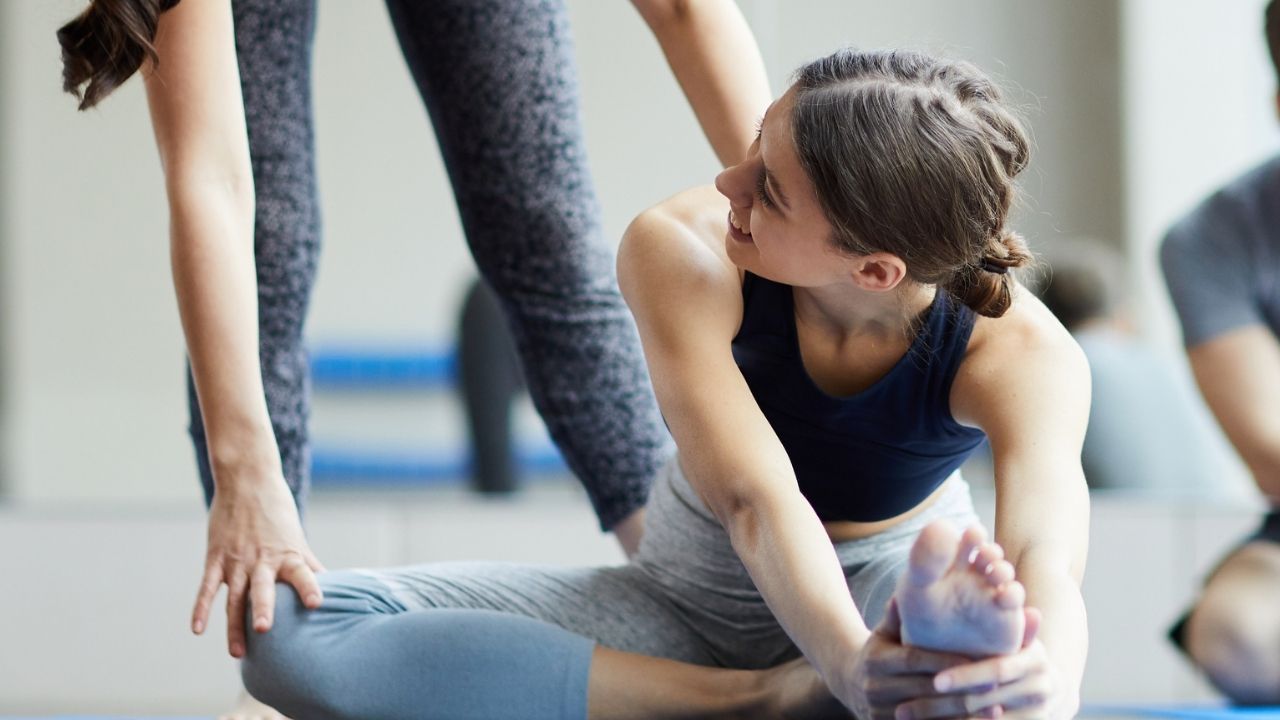
Teaching Pilates online comes with a unique challenge.
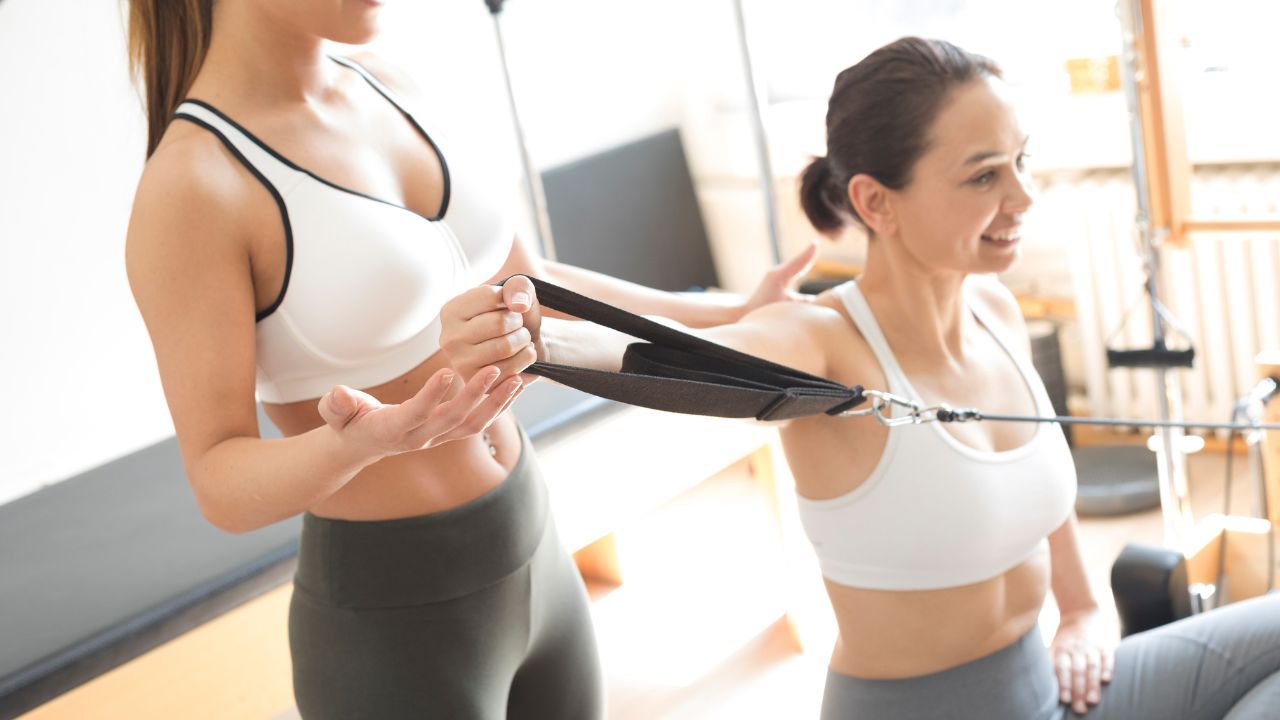
In person, if a client isn’t quite understanding an alignment cue, you can often solve the problem quickly with a hands-on correction. In a virtual lesson, that option disappears.
Most teachers respond by talking more.
They explain the movement again.
They describe the alignment from another angle.
They demonstrate the movement.
They repeat the cue in different words.
But sometimes the problem isn’t the explanation.
Sometimes the body simply needs physical (tactile) feedback.
This is where props become incredibly useful in virtual Pilates lessons. When placed strategically, a prop can provide the tactile information your hands would normally deliver. Instead of relying on words alone, your student can feel what you mean.
Here are a few simple ways to use props to guide alignment during virtual sessions.
Use a Small Ball to Teach The C-Curve

Teaching an even C-curve through the entire spine can be tricky.
Many students flex easily in the upper back but keep the lower back relatively straight. No matter how many times you say “round your spine,” the lumbar spine often refuses to cooperate.
A small ball can help solve this problem.
Ask your student to place a small ball on the mat behind them. While holding the backs of their thighs for support, they slowly roll back until the lumbar spine rests on the ball. The ball provides immediate feedback about where the flexion should occur.
Encourage the student to gently melt their lower back into the ball and adjust the ball slightly if needed. This tactile contact helps them understand the shape you’re asking for far more quickly than verbal instructions alone.
Use a Block to Correct Lower Body Alignment

Lower body alignment can be difficult to monitor through a screen.
Take Bridging, for example. You might cue the feet to stay parallel and the knees to track straight ahead, but many students feel like they’re already doing that—even when their knees are drifting outward or their feet are rolling.
A simple yoga block can bring awareness to this area.
Ask your student to place a block between the inner ankles and gently hug the block during the bridge. This small amount of pressure encourages the feet to stay aligned and helps prevent the knees from opening too wide.
Because the feet form the foundation of the entire body, improving alignment here often improves the organization of the whole movement.
You can apply the same concept in prone exercises as well. Placing a block between the feet during exercises like Dart encourages engagement in the lower body and helps align your legs, ankles and feet. Place the block between your inner ankles and press all 10 toenails into the floor. This will help to keep your legs from rotating, which helps create a bit more space in the sacroiliac area.

Use a Strap Under Your Back to Teach an Imprinted Spine

Another common challenge in virtual teaching is helping students recognize whether their low back is actually staying imprinted on the mat.
Even when students understand the concept, fatigue can cause the lumbar spine to lift without them noticing.
A strap or belt can provide helpful feedback.
Have your student lie on their back with their knees bent and place a strap under the low back, roughly opposite the belly button. The goal is to press the low back into the strap so firmly that the strap cannot be pulled out.
During abdominal exercises, ask the student to occasionally tug on the strap. If it slides easily, they know their spine has lifted and they need to re-engage the abdominals by tilting their pelvis posteriorly.
This simple prop turns an invisible alignment cue into something the student can physically check.
👉 Related: The Neutral Spine vs. The Imprinted Spine
Why Props Work So Well in Virtual Lessons
Props work because they give the body information that words cannot.
When a student can feel the correct alignment, the movement often makes sense immediately.
This is especially valuable in virtual teaching, where the teacher cannot rely on tactile corrections. Props become a bridge between verbal cueing and physical feedback.
Teaching Pilates Is More Than Knowing the Exercises
Knowing the Pilates repertoire is only the beginning.
Great teaching involves understanding how people learn movement and using tools—like props—to help different bodies and different learners grasp what you’re asking for.
Sometimes that means choosing the right cue.
Sometimes it means asking the right question.
And sometimes it means placing a prop in exactly the right spot.
Inside the Pilates Encyclopedia membership, we explore many of these teaching strategies in depth—verbal cueing, tactile feedback, observation skills, and ways to guide your students toward better movement.
Because great Pilates teaching isn’t about chasing more exercises.
It’s about developing the skills that help your students finally feel the work.