How Do I Help Someone Who Struggles With The Roll Up?
Sep 30, 2020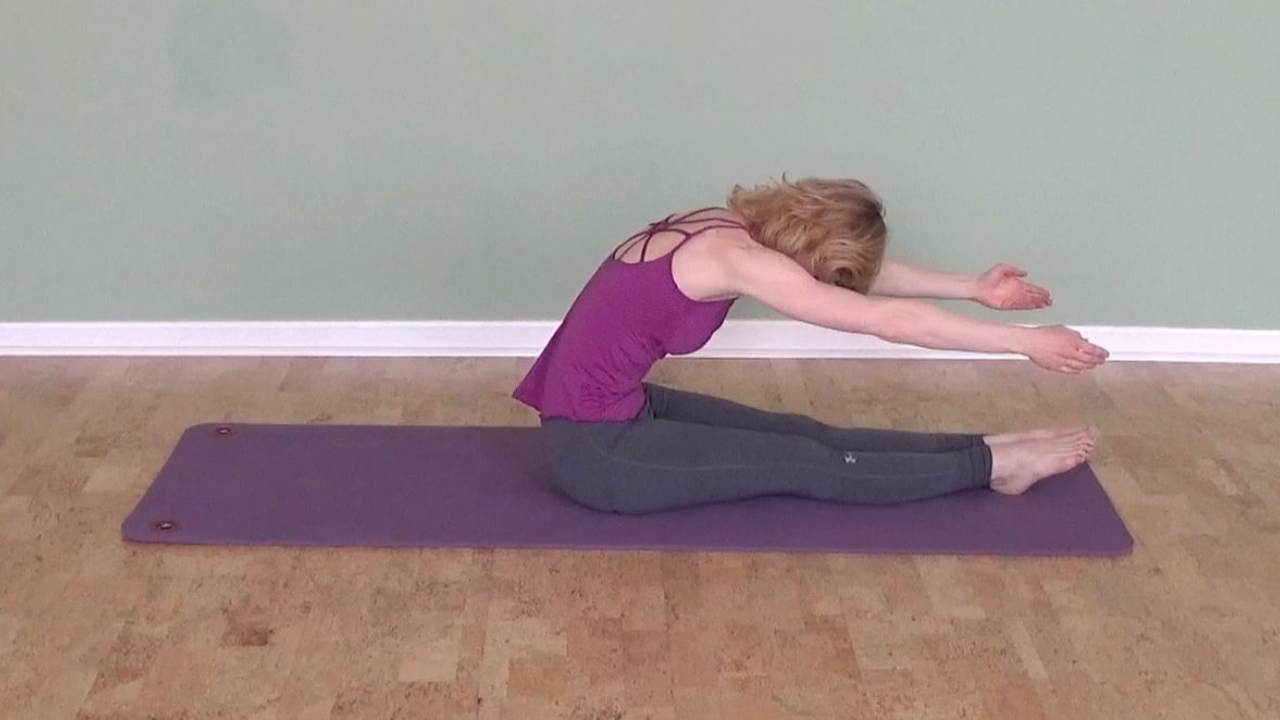
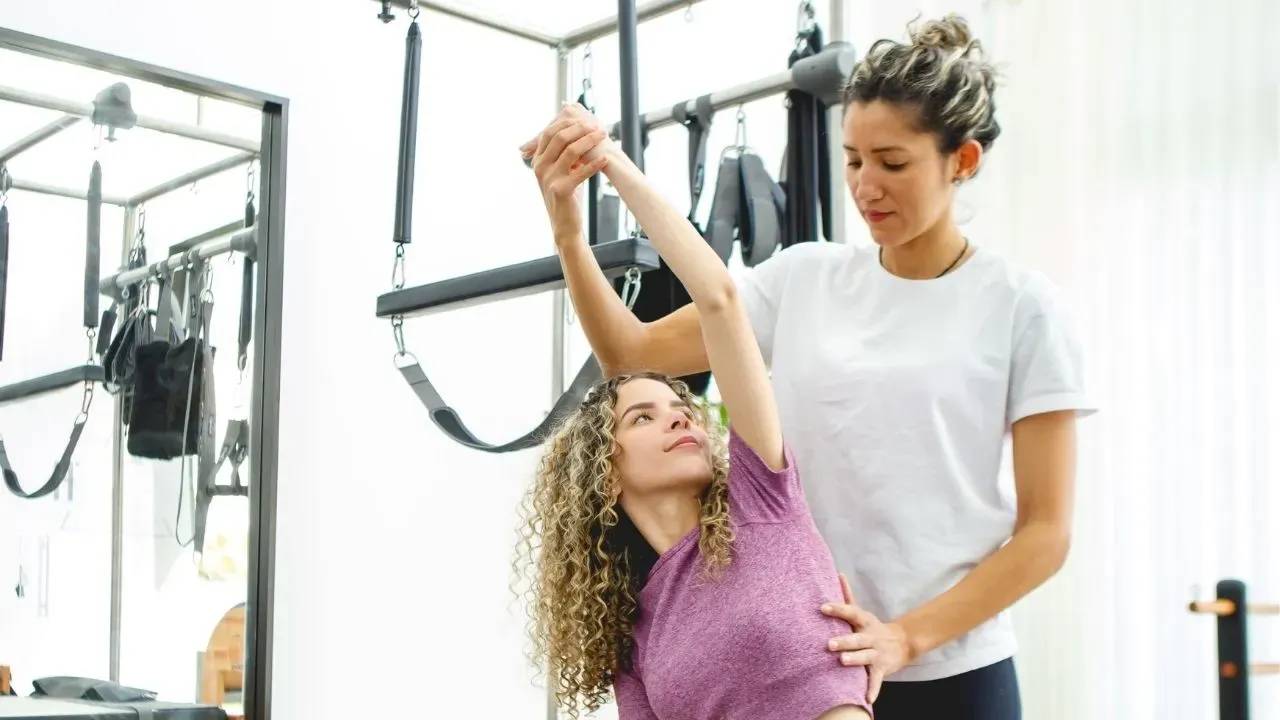
Do you have Pilates students who struggle with the Roll Up, no matter how much they practice it? Maybe they roll up a few inches, struggle, and finally give up before rolling back down. Everyone wants to be able to get through an exercise, so after a couple of failed attempts to roll up, they start using momentum to fling themselves through it. Yes, they're "rolling" up now, but at what cost?
First let's look at the exercise we're talking about:
Some students have a limited ability to mobilize their spine and posteriorly tilt their pelvis which prevents them from being able to roll up safely and efficiently. It's a common problem, so let's brainstorm some solutions.
Decide If The Roll Up Is a Good Fit For Your Student
If somebody is severely limited in their posterior tilt or spine flexion, then the Roll Up is going to be really hard and potentially not helpful. If a joint is not moving, repeating the same exercise over and over is not going to get the joint to move. If they continue to fling themselves through the movement, they are likely contributing to a compensation pattern and increasing the likelihood of straining something. This results in the student getting further and further away from performing the Roll Up correctly.
Explain to your student the difference between efficient and inefficient movement and what a compensation pattern is. Help them understand that the point of Pilates is to build better movement patterns. Yes, we get stronger along the way, but getting stronger is not the main purpose. Solely focusing on getting stronger reinforces the "more is better" mindset which causes people to force themselves through an exercise.
Our goal is to change our movement patterns to be safe and efficient. Hopefully in this discussion, they'll start to understand that it's not worth repeating an exercise that's not a good fit for them. (I went so far as to not allow my students to ignore my advice in my classes. I (partially) jokingly said "Not on my watch." and insisted that they try it my way.) #bebold
There's often a feeling of peer pressure in a group class to do what everyone else is doing. It's important to establish an atmosphere where it's okay to do something different. One that allows everyone to honor their own body and choose not to do the Roll Up, for instance. Offer an alternative.
Teach Preparatory Exercises
If you have more than two to three people in a class who can't do the Roll Up, maybe just don't teach the Roll Up at all. Instead, do exercises that help them prepare for it. Maybe over time, they will be able to do it.
Pelvic Rocking and Segmental Bridging are fabulous preparatory exercises that can give you an idea of what's going wrong in the Roll Up. Start with pelvic rocking- rolling the pelvis back toward the shoulders and then rolling forward towards the feet. Observe how your student is moving and maybe you'll see the foundation of the problem. Is the movement lacking fluidity? Can she bring both sides of the lower back down to the mat evenly? Watching this movement might give you a hint of why they can't come up. If they can't come into a posterior tilt and lay their lumbar spine flat on the mat in pelvic rocking, then the Roll Up is simply not going to work and it won't be beneficial.
A student who is this stiff might not have to do a full Roll Up to get the abdominals to work. Explain this to them so they can let go of the thought that they're missing out by not going through the full range of motion. The opposite is actually true. By slowing down and doing a movement that's actually helpful, they'll get much more benefit.
Try side-to-side and diagonal movements in addition to exercises in the sagittal plane. Our muscles run on diagonals and overlap each other to make rotation and three-dimensional movement possible. Add rotations, diagonals, and circles to your pelvic clocks. You might see that one direction is more restricted than the others. That gives you a great hint of what's going on.
Progress the pelvic clocks into segmental bridging and observe what happens. Sometimes the flat spot in the Roll Up is not in the lumbar spine, it's in the high lumbar or in the thoracolumbar junction, where the outward curve of the thoracic spine switches to the inward curve of the lumbar spine. This is often a sticky point. Notice if your student can articulate through these points in the spine, or if a section moves as a block.
If you decide to teach the Roll Up in a group class and know some students can't do it, offer them an exercise that's better for them. Whether this works or not - I believe - will depend on the strength of their egos ;) If you've done a good job over the previous months or years educating your students about the purpose of Pilates, then they won't take offense and will be receptive and even grateful for an option that's better suited for them.
Bend Your Legs
Bending your knees makes it easier for your pelvis to tip posteriorly. Try the variation Assisted Roll Up:
It's even easier when you only hold one leg and extend the second leg long on the mat. I call this Climb a Tree on the mat. You can get leverage from the leg you're holding and enjoy the feeling of support and anchoring from the long leg. If you are hypermobile or have a significant pelvic asymmetry or SI joint issue, then this unilateral variation is not going to be a good choice.
Start In a Seated Position
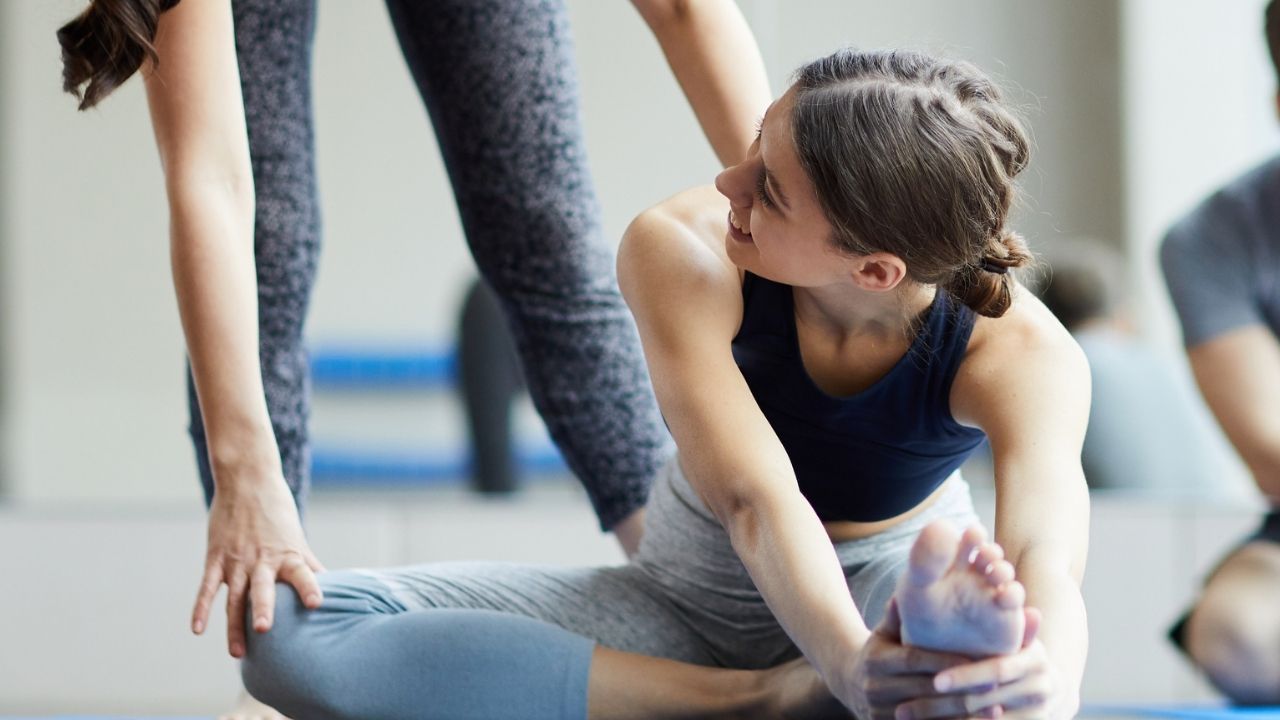
For your students who are attempting the Roll Up, don't start them out on the bottom. They'd have to fight gravity on the way up which makes it so much harder. Start seated with the legs bent, which allows the pelvis to have more mobility. Hold on to the back of the thighs for assistance. Have them roll down only to a point they can maintain. Maybe they can go a little bit further down with every repetition. Eventually, let go of the legs and do the same movement.
In the Pilates Encyclopedia membership, you'll find a detailed article on how to teach the Roll-Up to a multi-level class using the teaching tool layering
Use Tactile Cues
When your student is in a seated position, place your hand on the back of her pelvis (sacrum). As she moves back, slide your hand up her sacrum to give her tactile feedback for the next area that should be touching the mat. You might find that, even though your hand is at the base of her sacrum, she moves at the upper part of the PSIS at the high end of the pelvis. She's initiating from the wrong part of the body, maybe because there's a restriction in her hip joints or her hip flexor is short and unable to lengthen.
The same goes for Bridging. Have your student lift up first and then place your hand under her spine. Find the highest vertebra that you can get your fingers on and, as she rolls down, give her feedback by tapping her vertebrae. Again, you might notice that your hand is high on their spine, but where she's moving is actually much lower on the spine. She might skip a whole section because she lacks awareness or mobility in that area.
Place a Folded Towel Underneath Her Low Back
By placing a folded towel in the space where the lumbar spine will land, you will fill the gap and create contact between the low back and the mat. That way, when she rolls up, her lumbar spine has something to push against, which makes it easier to come up.
Use a C Shaper (aka Spine Supporter)
I just recently started to work with a C-Shaper (aka Spine Supporter) and I'm loving it, loving it, loving it! Put your student passively in position and ask her to connect each vertebra with the C-Shaper. She will feel where the gaps are and that tactile feedback is incredibly helpful.
You probably won't have a C-Shaper available for each person in a class, so you can give it to the one person that has trouble with the Roll Up. Or let her use it before (recommended) or after class. If several people want to use it, you could let them come in early and each use it for about 5 minutes before class starts. If you have a couple of minutes to work with a student before class, that would also be very helpful in the long term. If you're working virtually, you could recommend the C Shaper to your students and explain why it will make a huge difference for them. If they're interested and eager to make a change in their body, they can purchase their own.
To Sum It Up: Regressions, Regressions, Regressions
Help your students understand the benefit of not doing the full exercise. Explain it in a way that helps her see that it's not in her favor to repeat an exercise that doesn't match her body and that's not because she's weak.
It's similar to buying a suit. You have the option of tailoring a suit so it's cut to your body or buying off the rack. If you buy off the rack, it's possible that the store you're buying from doesn't cut for your body type. The same goes for exercises. If you pick up the Roll Up off the rack and try to force it onto a person's body, it might not fit. A much more upscale method would be to pick variations that are tailored to the person and fit them perfectly. That's how they'll get the most out of it.
Pilates takes modifications to a really good extreme. Our students might not be aware of that, so let's help them understand.
Now I want to hear from you: Do you or your students struggle with the Roll Up? How do you adapt the exercise to achieve a successful movement experience?