How To Do The Grasshopper Exercise
Jun 23, 2021
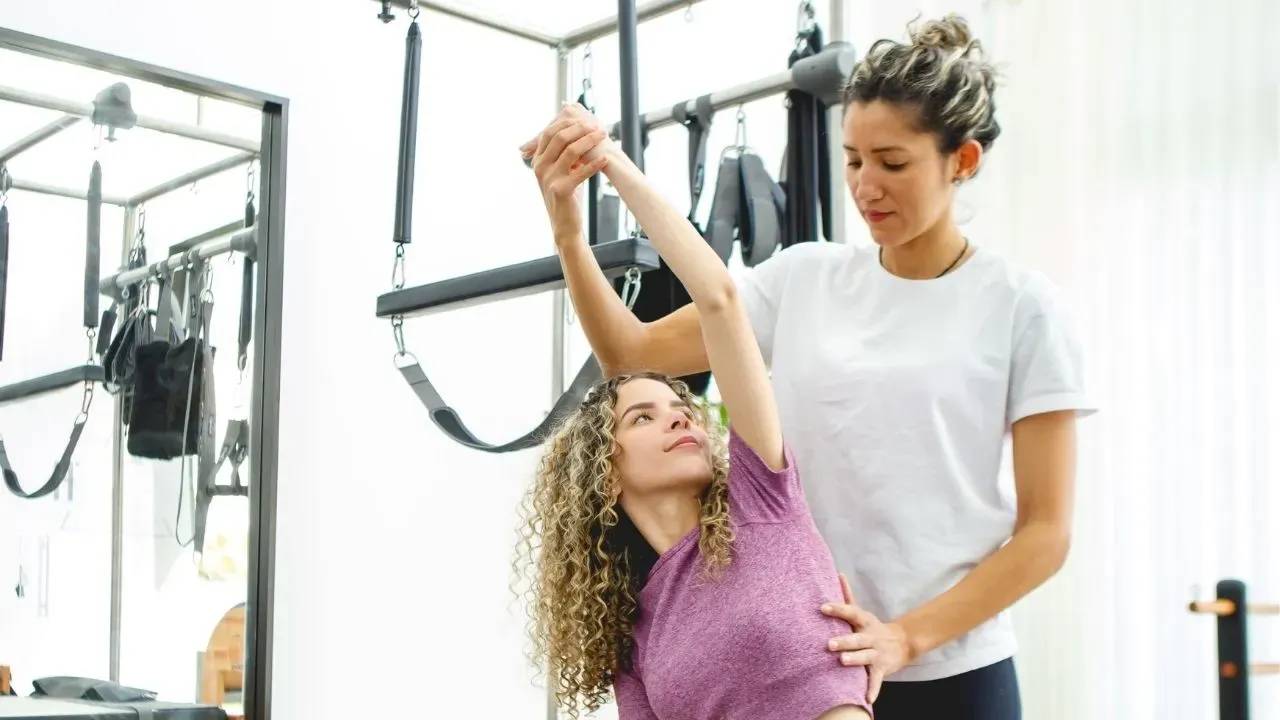
Grasshopper is an exercise from the Pilates repertoire performed in a prone position. It primarily targets your hip extensors (gluteus maximus and hamstrings).
First, let's look at the mat version of the Grasshopper exercise.
Even though the mat version is the one anyone could practice, due to the fact that it doesn't require any apparatus, it's the one requiring the most range of motion into hip extension.
Lying prone on the mat puts your hips into neutral and if you want to lift your thighs correctly (without hyperextending your lumbar spine) you will need to have active range of motion into hip extension. The fact of the matter is that our modern lifestyle of sitting for way too many hours has shortened the hip flexor muscles for most of us, which means our hips are unable to go into a comfortable neutral position, let alone extension.
That's where the barrels come in. In both versions below, your hips can start in a slightly flexed position (which is much more attainable for most people) and you lift towards neutral, instead of hip extension.
Now if you're thinking that you won't get the same benefit, let me put your mind at ease. If your hips are unable to extend, they will look for other places in the body to extend. In this case, it will be the lumbar spine. So if you do the exercise anyway (as many people do) you are training your lumbar extensor muscles instead of your hip extensor muscles.
Grasshopper on the Mat
- Begin lying prone (on your belly). Extend your legs back and separate them a bit more than hip-width apart.
- Find a place for your hands on the floor, somewhere underneath your shoulders (so your shoulders, neck, and wrists are comfortable). Or, stack one hand on top of the other and rest your forehead on your hands.
- Bend your knees and bring your toes to touch.
- EXHALE, squeeze your bottom and - if you can - lift your legs. Pull your feet as close as possible towards the back of your head. (If you’re like most normal humans you won’t get anywhere near your head. It’s just a general direction.)
- INHALE, lower your legs down and relax your glutes.
- Repeat.
- When finished, lengthen the leg out along the mat.
If you've done the Grasshopper on any of the apparatuses, then you probably miss the complicated fun leg coordination, right? After all, that's what really makes you feel like a Grasshopper, no?
As a consolation, you could practice Heel Beats which is the same movement as the flapping of the wings in the Grasshopper. It's also a great preparation (#Layering) for the leg movement introduced in the barrel versions.
One very common problem in Heel Beats is the rubbing of the thighs along the mat. The reason for that is that most people's hips are not flexible enough to lift high enough to clear the floor. If your mat is super sticky (which is great for traction) then it'll be even more difficult obviously, with all that friction. But before you lift your legs super high (and lift from your lumbar extensor muscles), try optimizing your hip extension with Prone Leg Lifts:
Now that we've looked at the movements required (and challenges associated) for Grasshopper on the mat, let's continue by looking at the benefit or using one of the barrels.
In addition to being much easier and more effective for your hips, the barrel versions allow you to add the pivot movement. Tipping forward and backward. This is obviously not possible on the mat. The floor is always in the way (darn it.)
The important thing for the seesaw movement is to keep the connection in the front body. Since the activity in the Grasshopper is in the back body (glutes, spine), we tend to forget to keep the anterior abdominal wall (your core) active and engaged. Imagine the stiff wooden board of a teeter-totter. The line from your pelvis to your shoulders shouldn't change, although it might be slightly curved. Don't decrease or increase the curve as you move through the flow of the exercise.
In addition to strengthening your bottom, it will improve your shoulder girdle organization and activate your hip adductors, spinal extensors (erector spinae), and your deep six external hip rotators.
2. Grasshopper on the Spine Corrector
- Stand facing the step.
- Kneel down in the well and come to lie face down on the Spine Corrector.
- Position your lower belly on the apex of the arc.
- Place your palms on the floor underneath your shoulders. Bend your elbows back so your shoulders are on the same height as your hips.
- Position your pelvis so your pubis and tailbone can drop slightly behind the apex of the barrel. This way your lumbar spine is being lifted instead of sinking down.
- Look straight down towards the mat.
- Reach your chest forward into slight thoracic extension.
- Press your pubic bone against the barrel and firm your lower abdominal wall.
- Reach your legs long, separate, and externally rotate them so your heels are facing inward, toes outward.
- Float both legs up, using your butt muscles.
- INHALE, reach your legs long, and lift them as you pivot forward over the apex of the arc.
- Bend your elbows back and reach your chest forward and down. At the same time, bend your knees, touch your feet together and pull them in towards your bottom.
- EXHALE, extend and open your legs, reach them long (keeping them as high as you can).
- Open and close your straight legs several times in short quick movements while rocking back. Your upper body lifts into a Swan position and your arms straighten.
Now on to my favorite apparatus: the Ladder Barrel.
The thing I love about the ladder barrel version is that I don't need to get down to the floor. That might not be a good enough reason for you, but it definitely makes me biased. (If you've been teaching Pilates for any amount of time, you know how often we get up and down from the floor. #exhausting)
Being higher off the ground gives you even more range of motion for your hips (your legs can dangle way down), as well as your spine (grabbing a lower rung will make it more attainable for students with limited spine extension.
As a mental shortcut, remember, the higher and bigger the barrel, the less range of motion is required to do it correctly. This means, it's easier to do right and your students will feel the target muscles more easily. Over time, you can progress to the smaller barrel and maybe eventually to the mat.
If you're trying this for the first time, make sure to experiment with the distance between ladder and barrel. It's worth it to get this distance just right. You'll know that the barrel is too far away from the ladder if your arms feel too short. If your lower back compresses or your shoulders lift, then they're too close together.
3. Grasshopper on the Ladder Barrel
- Stand behind the Barrel.
- Lie forward, with your belly over the Barrel, reach for the Ladder, pulling yourself up a bit higher. If you need to make yourself a bit taller to be able to reach the ladder, stand on a moon box or sitting box. Place a sticky pad under the box to make sure it won’t slide away as you push off.
- Grab the second or third rung from the top. (Higher requires more shoulder flexion.)
- Position your pelvis so your pubic bone and tailbone can drop slightly behind the apex of the barrel. This way your lumbar spine is being lifted instead of sinking down.
- Press away from the ladder with your straight (not locked) arms. Pull your shoulders down and back, away from your ears.
- Reach your chest forward into slight thoracic extension.
- Press your pubic bone against the Barrel and reach your legs long.
- Separate your legs and externally rotate them so your heels are facing inward, toes outward.
- INHALE, reach your legs long, and lift them as you pivot forward over the apex of the Barrel. As you do this your elbows will bend. Then bend your knees and touch your heels together and reach them in towards your bottom.
- EXHALE, reach your legs up and back, straightening your knees along the way. Click your heels together several times in short quick movements while pivoting back. Your upper body lifts into a Swan position and your arms straighten.
Since the Reformer is the most popular Pilates apparatus, many of you will want to practice Grasshopper on the Reformer. Pivoting around the rectangular box can be a little bit uncomfortable (if your abdominal wall muscles, facia, or viscera are sensitive) and doesn't support you as much (less contact area than on the round apparatuses). Yet, it's a prone Pilates exercise, and the world needs more of those. So - if you only practice Reformer Pilates, you'll still get a great workout for your backside, and it's easier than on the mat.
4. Grasshopper on the Reformer Long Box
- Lower the footbar and attach at least 2 springs to keep the carriage stable.
- Lie down on the long box facing the footbar.
- Make sure to position yourself with the lowest ribs still on the box, but near the front edge.
- Reach your legs long
- Press your pelvis down onto the box and firm the abdominal wall between your hip bones. (Imagine a rubber band stretched between your hip bones and pull it taut.) This will engage your transversus abdominis (TA).
- Place your hands on the footbar or standing platform, slightly wider than shoulder-width apart.
- Throughout the upcoming movement, make sure to keep the upper and lower body connected, so they move as one, like a teeter-totter, pivoting around a fulcrum.
- Reach long and lift your legs. This will result in your upper body tipping forward. Allow your elbows to bend.
- Bend your knees, touch your toes together and reach your toes in the direction of your head.
- Begin the return movement by reaching your chest forward and up. Straighten your legs into a slightly opened (Heel Beats) position. Open and close your legs quickly (and not too wide to keep up the speed), while you continue to tip up.
3 Tips for the Grasshopper Exercise (For All Apparatuses)
- Start with (lift from) your glutes, not your lower back.
- Keep your shoulders wide, and down (use your arms, not your neck and shoulders).
- Keep your abdominals working even though they want to relax. If you feel a lot of pressure on your stomach, then you’re not engaging your abdominal muscles enough. (Imagine a rubber band from one hip bone to the other).
Get immediate access to the complete comprehensive Pilates Encyclopedia library.
I know how disappointing it might be for you to read that the mat version is the most difficult version, but you don't have any of the barrels. The baby arc can be a great alternative for mat classes, either for all students if you have enough of them, or just for the one or two students who need it the most.
Now I want to hear from you: Which is your favorite version of the Grasshopper? Shoot me an email.