Tips For Swimming
Dec 19, 2015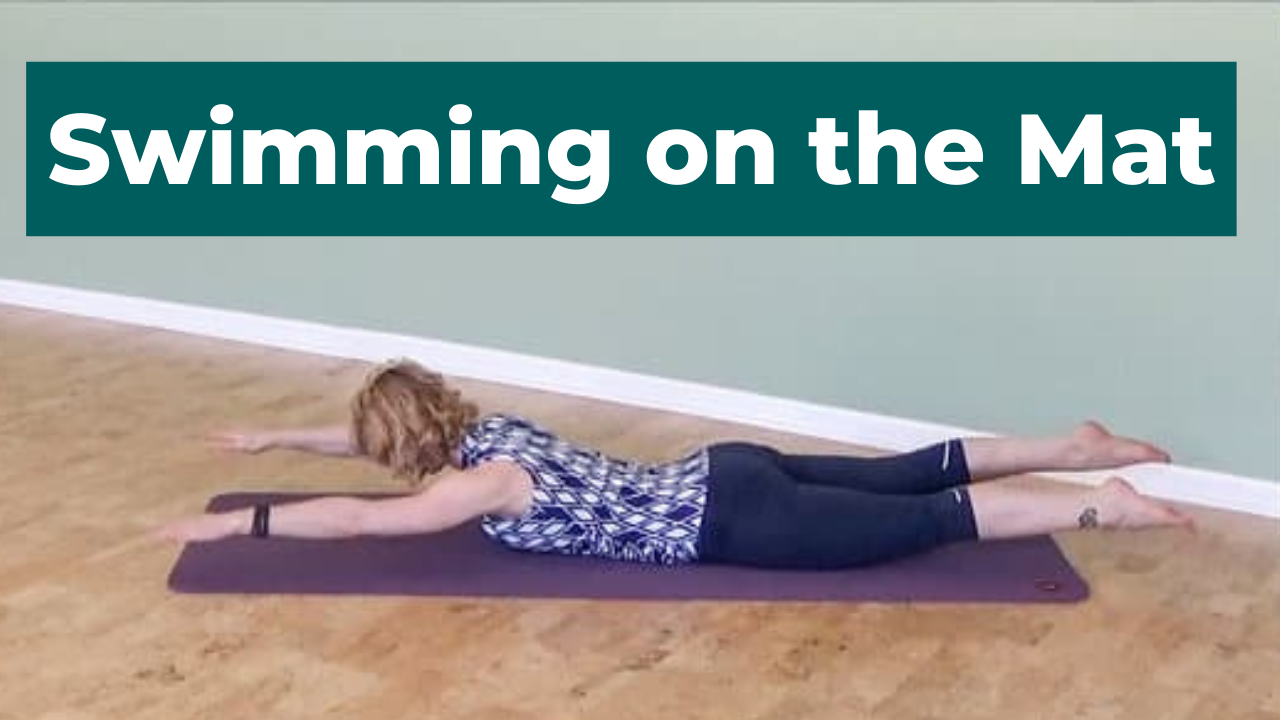
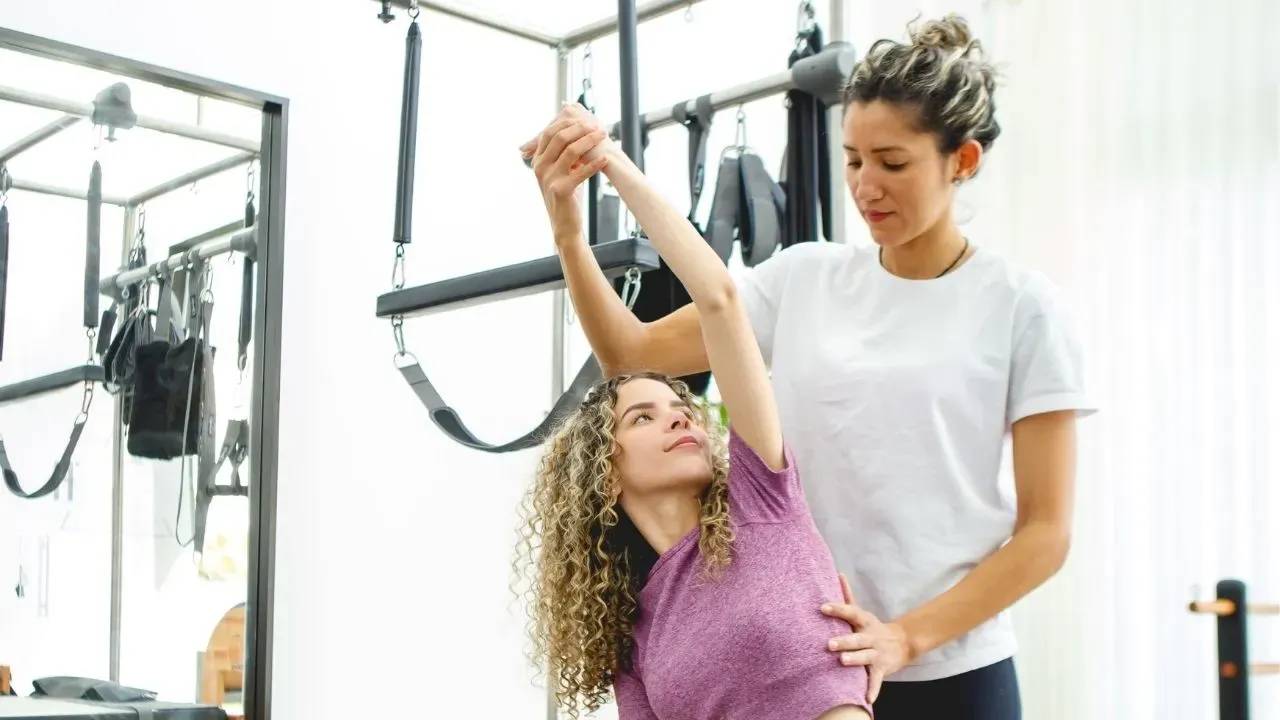
Swimming is an exercise that you will come across in almost every single Pilates mat class. It’s an excellent exercise to work the hip extensors (glutes and hamstrings), spinal extensors (erector spinae), and practice trunk stability while lying on your stomach.
Not that you need a reminder, but here it is anyway. :)
You might have noticed that it’s difficult to keep your abdominal wall firm while lying on your stomach. Gravity is incredibly strong and pulls the belly to the mat immediately when you stop paying attention to it.
It’s hard for many of us to correct ourselves during this exercise. If we don’t know what we’re doing wrong, then we can’t fix it. So I’ve come up with a fun way to do just that.
How To Keep Your Pelvis Still
The goal with this variation is to notice when your pelvis is rocking to one side and then apply this easy technique to keep it from collapsing.
Lie belly down on your mat.

We will only practice the leg movement right now, but we will use our arms as feedback tools. I'll explain how to do that in a second. For right now, keep your arms stretched out alongside your body. Let your head and nose hover above the mat, and look straight down.
Press your pelvis down onto the mat, including hip bones and pubic bone, and lengthen your legs back. Toes and thighs are reaching back like arrows.
Now slide your fingertips under your hipbones. You should have contact with your fingers on both hip bones equally. I had told you to press those hip bones down into the mat, but now they should be pressed onto your fingers, not too hard, though. I don’t want it to be uncomfortable.
Now here we go: Lengthen your right leg back even more and let it hover one or two inches above the mat. Notice immediately that your right hip bone might be pressing down more heavily onto your fingers than the left side.

Now to fix this you have two options:
- Press your right fingertips up onto the hip bone to bring your pelvis back into symmetry or
- Press your left hip bone down onto your fingers.
I find that one of those two methods works better for different people, so maybe try each and see which one makes more sense for your brain and body.
As a result, you should feel your hamstrings, glutes, and/or lower abdominals work harder.
Remember to not actively squeeze these muscles, but only notice that they are activated as a result of the change of movement pattern.
How To Make Sure You Keep Doing It Right Over Time
If you practice this for a while, you might want to switch the technique. We tend to overcorrect when we work towards mastering something. After pressing down onto your fingers with your hip bone for a few weeks, you might be going past the beautiful point of balance and land on the other side. Come back to this post at a later date and try the other method.
I have found that on certain days technique one works better, and other days technique two is my go-to. I just go with the flow, meaning the one that works better any given day is the one my body wants, and I always take my body’s cue. Thank goodness, one less decision for my poor overworked brain!
Now let's talk about the upper body/arm part of Swimming on the mat.
I have honestly stopped teaching the full Swimming exercise in my beginner mat classes. Too many students have limited shoulder flexion (they can’t lift their arms overhead without creating some sort of disorganization in the shoulder girdle).
So I’ve started doing a variation of the arm movement of Swimming in a child’s pose position.
With the chest higher, it increases the distance from the head to the floor and the arms sit a bit lower in the starting position. This smaller angle of shoulder flexion is more accessible (doable) for more people. Do you want to try it? Here we go…
Come onto your knees and sit back onto your heels into a Child’s Pose. From here reach your arms overhead separate your arms into a V- position, wide enough so your pinky fingers touch the edges of your mat (or even wider if it feels better for your shoulders). Press your palms flat onto the mat.
Spread your collar bones wide and slide your shoulder blades towards your lower back.
Continue to press your right palm firmly onto the mat and lift your left arm one or two inches off the floor. Root & Rebound.

Keep your chest perfectly squared to the floor with both armpits facing straight down (versus out to the sides).
Now repeat with your other arm.
That’s it. How do you like it?
Did you feel your upper back work? Mine is usually on fire. While the area around the neck should be as relaxed as possible.
Many blessings,

Related: Taking the Discomfort out of Swimming on the Spine Corrector